
Typically when we hear Vue.js and state management, our minds immediately jump to Vuex or another robust state management solution. However, the majority of our state management doesn't happen on such a large scale. Instead, it's tucked away inside of our Vue components.
If you're still scratching your head about what I'm talking about, let's take a look at an example of local state in action.
<template>
    <div>
        <div v-if="state === 'default'">
            <h1>Default State</h1>
        </div>
        <div v-else>
            <h1>Every Other State</h1>
        </div>
    </div>
</template>

<script>
    export default {
        data: function () {
            return {
                state: 'default'
            }
        }
    }
</script>
In our data, we have a state property that we're using to keep track of the different states of our component. Pretty simple, right?
I've noticed that in the Vue community, we typically manage this local state with two different patterns. The first, like in the example above, relies on a descriptive String. The other pattern relies on a nested Object and booleans, like this:
<template>
    <div>
        <div v-if="state.visbility">
            <h1>Default State</h1>
        </div>
        <div v-else>
            <h1>Every Other State</h1>
        </div>
    </div>
</template>

<script>
    export default {
        data: function () {
            return {
                state: {
                    visiblity: true
                }
            }
        }
    }
</script>
Both of these methods work pretty well, but let's take a closer look at each of them and examine their pros and cons.
The Set-Up
Before we dive right in, let's get ourselves set up with a little loading notification component. To get everything up and running as quickly as possible, we'll use the Vue CDN instead of a full-build.
Let's start with a blank index.html file with our Vue CDN included.
<!DOCTYPE html>
<html lang="en">
<head>
    <meta charset="UTF-8">
    <title>Local State Management</title>
</head>
<body>
    <script src="https://cdn.jsdelivr.net/npm/vue@2.5.13/dist/vue.js"></script>
</body>
</html>
Now, let's add the Tailwind CSS and Font Awesome CDNs, so we have a better-looking example.
<!DOCTYPE html>
<html lang="en">
<head>
    <meta charset="UTF-8">
    <title>Local State Management</title>
    <link href="https://cdn.jsdelivr.net/npm/tailwindcss/dist/tailwind.min.css" rel="stylesheet">
</head>
<body>
    <script defer src="https://use.fontawesome.com/releases/v5.0.9/js/all.js" integrity="sha384-8iPTk2s/jMVj81dnzb/iFR2sdA7u06vHJyyLlAd4snFpCl/SnyUjRrbdJsw1pGIl" crossorigin="anonymous"></script>
    <script src="https://cdn.jsdelivr.net/npm/vue@2.5.13/dist/vue.js"></script>
</body>
</html>
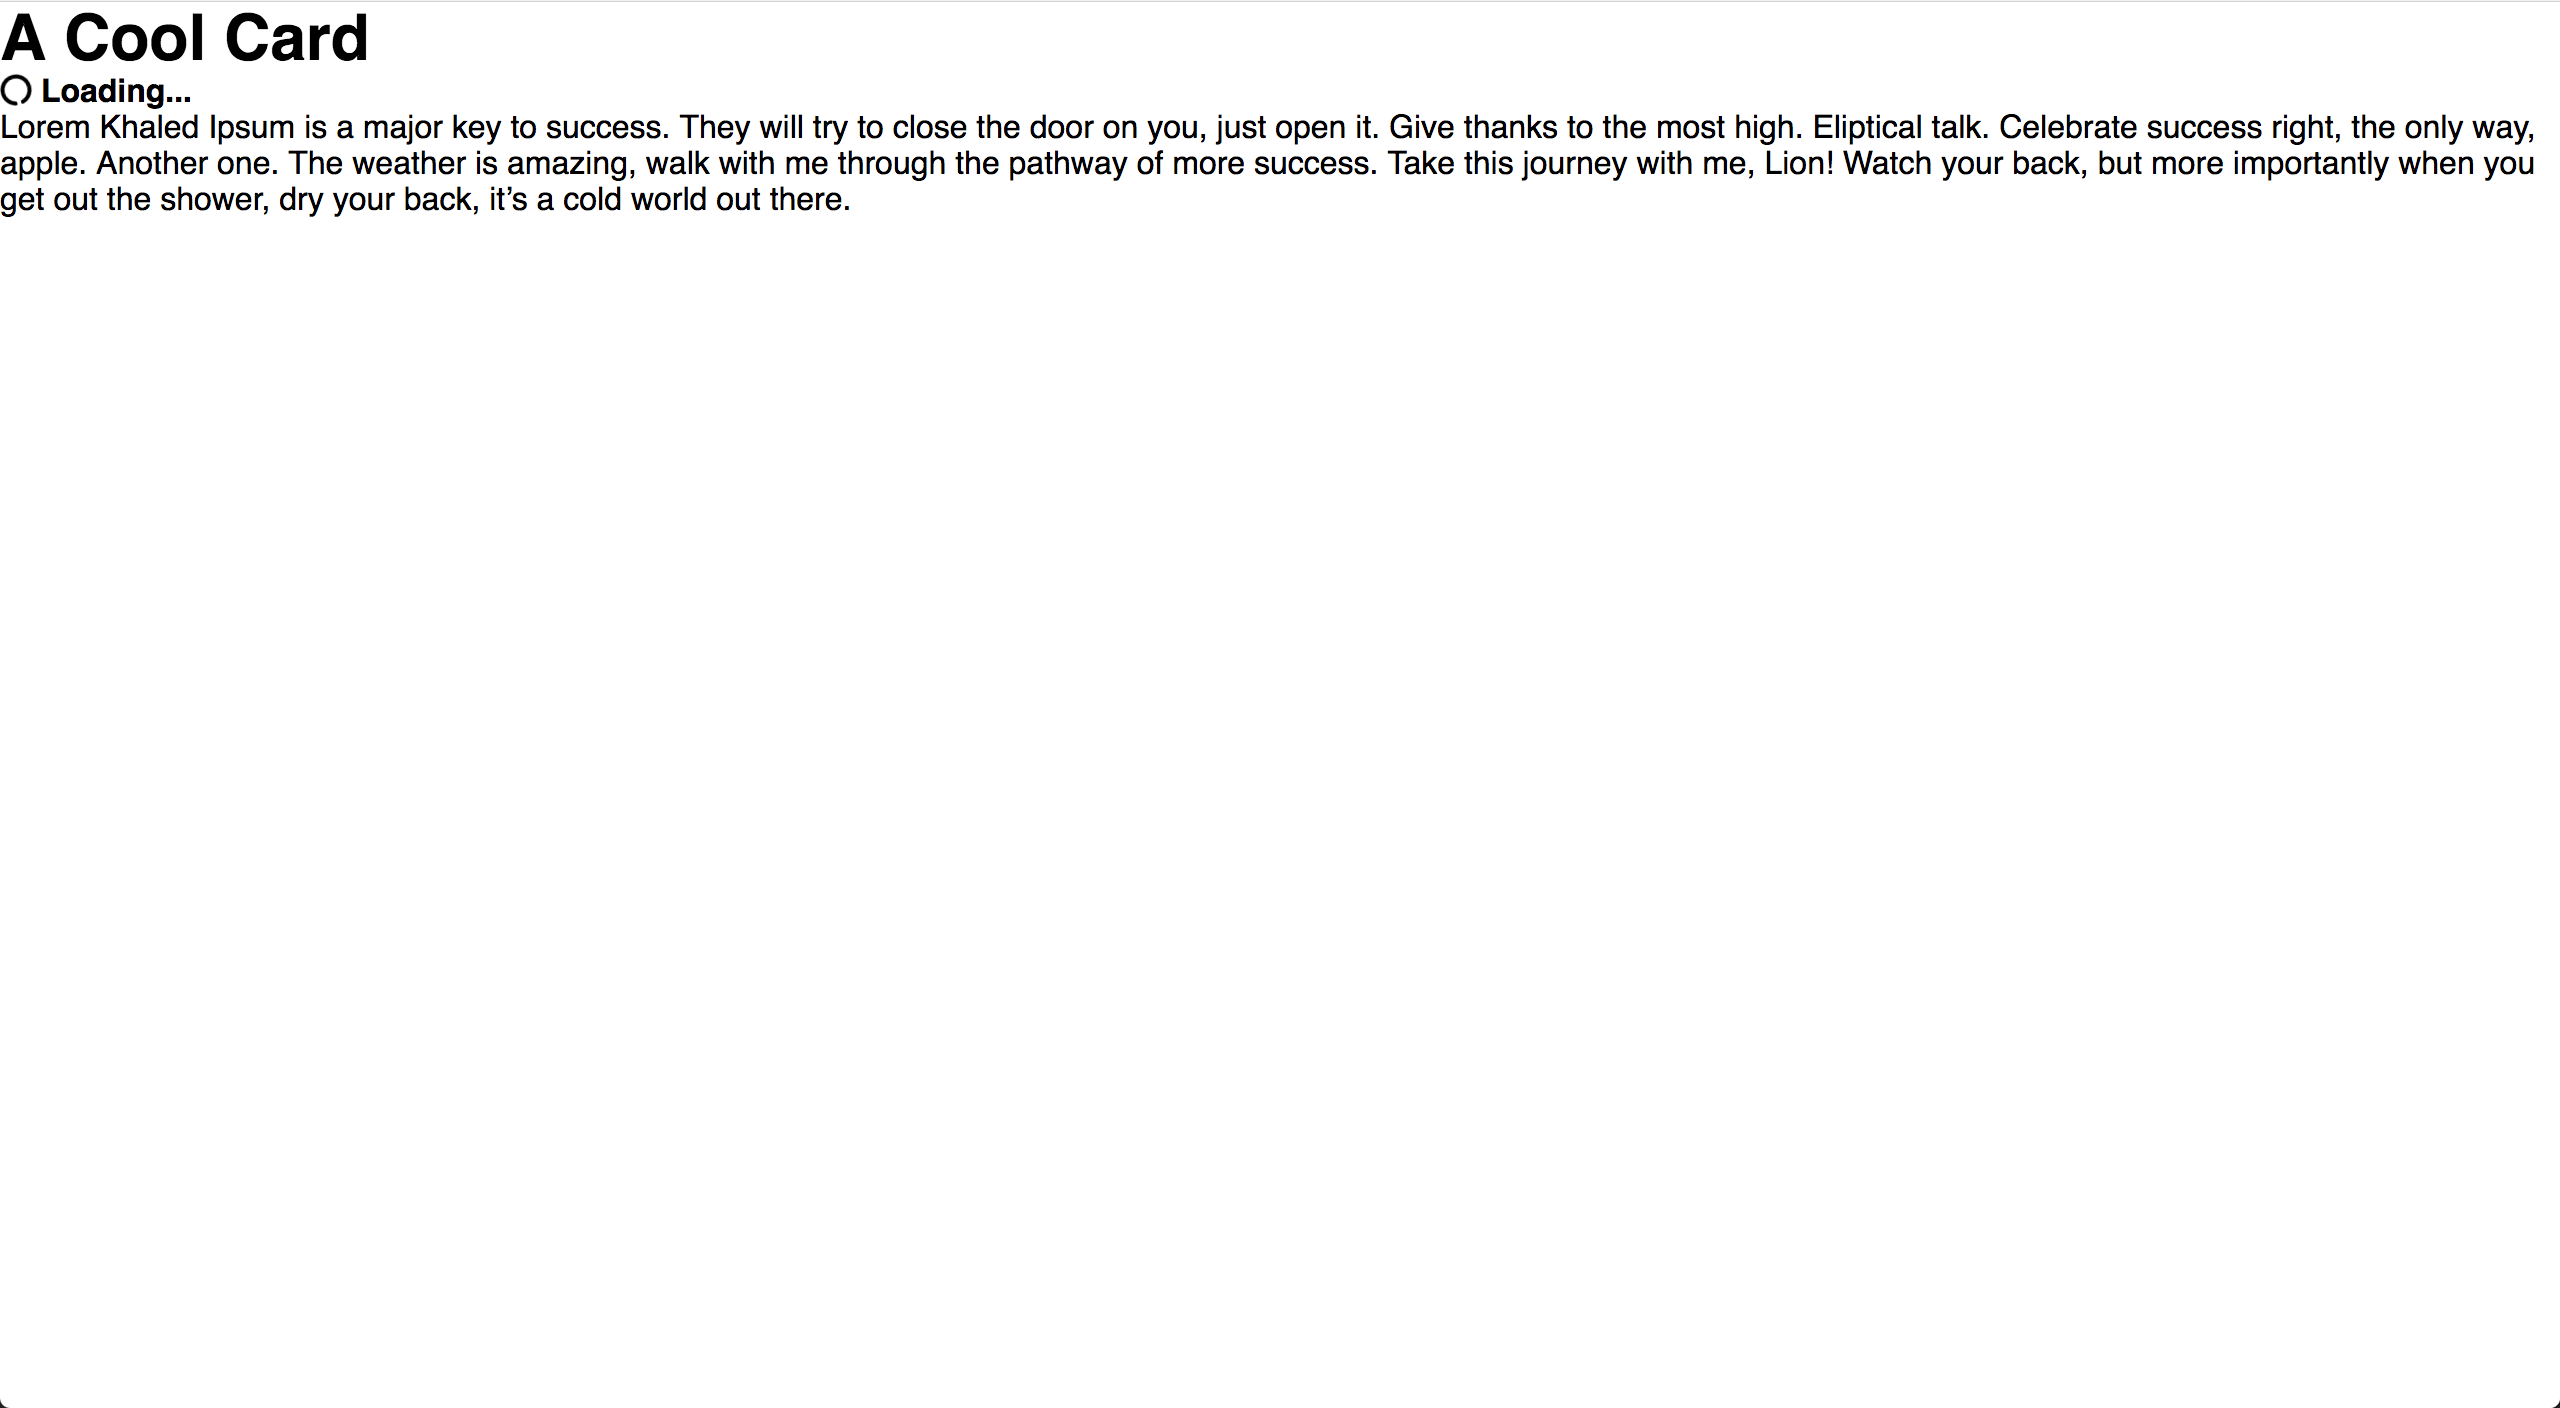
Great! Now, we can scaffold out some HTML. For this example, we need a simple UI card with a little loader component in the header.
<!DOCTYPE html>
<html lang="en">
<head>
    <meta charset="UTF-8">
    <title>Local State Management</title>
    <link href="https://cdn.jsdelivr.net/npm/tailwindcss/dist/tailwind.min.css" rel="stylesheet">
</head>
<body>
    <div>
        <div>
          <h1>A Cool Card</h1>
          <h4 id="loader">
            <i class="fas fa-circle-notch fa-spin"></i> Loading...
          </h4>
        </div>
        <div>
          <p>Lorem Khaled Ipsum is a major key to success. They will try to close the door on you, just open it. Give thanks to the most high. Eliptical talk. Celebrate success right, the only way, apple. Another one. The weather is amazing, walk with me through the pathway of more success. Take this journey with me, Lion! Watch your back, but more importantly when you get out the shower, dry your back, it’s a cold world out there.</p>
        </div>
    </div>

    <script defer src="https://use.fontawesome.com/releases/v5.0.9/js/all.js" integrity="sha384-8iPTk2s/jMVj81dnzb/iFR2sdA7u06vHJyyLlAd4snFpCl/SnyUjRrbdJsw1pGIl" crossorigin="anonymous"></script>
    <script src="https://cdn.jsdelivr.net/npm/vue@2.5.13/dist/vue.js"></script>
</body>
</html>
If we take a look at this in our browser, we can see that all of the pieces are there, but it's not looking too good.
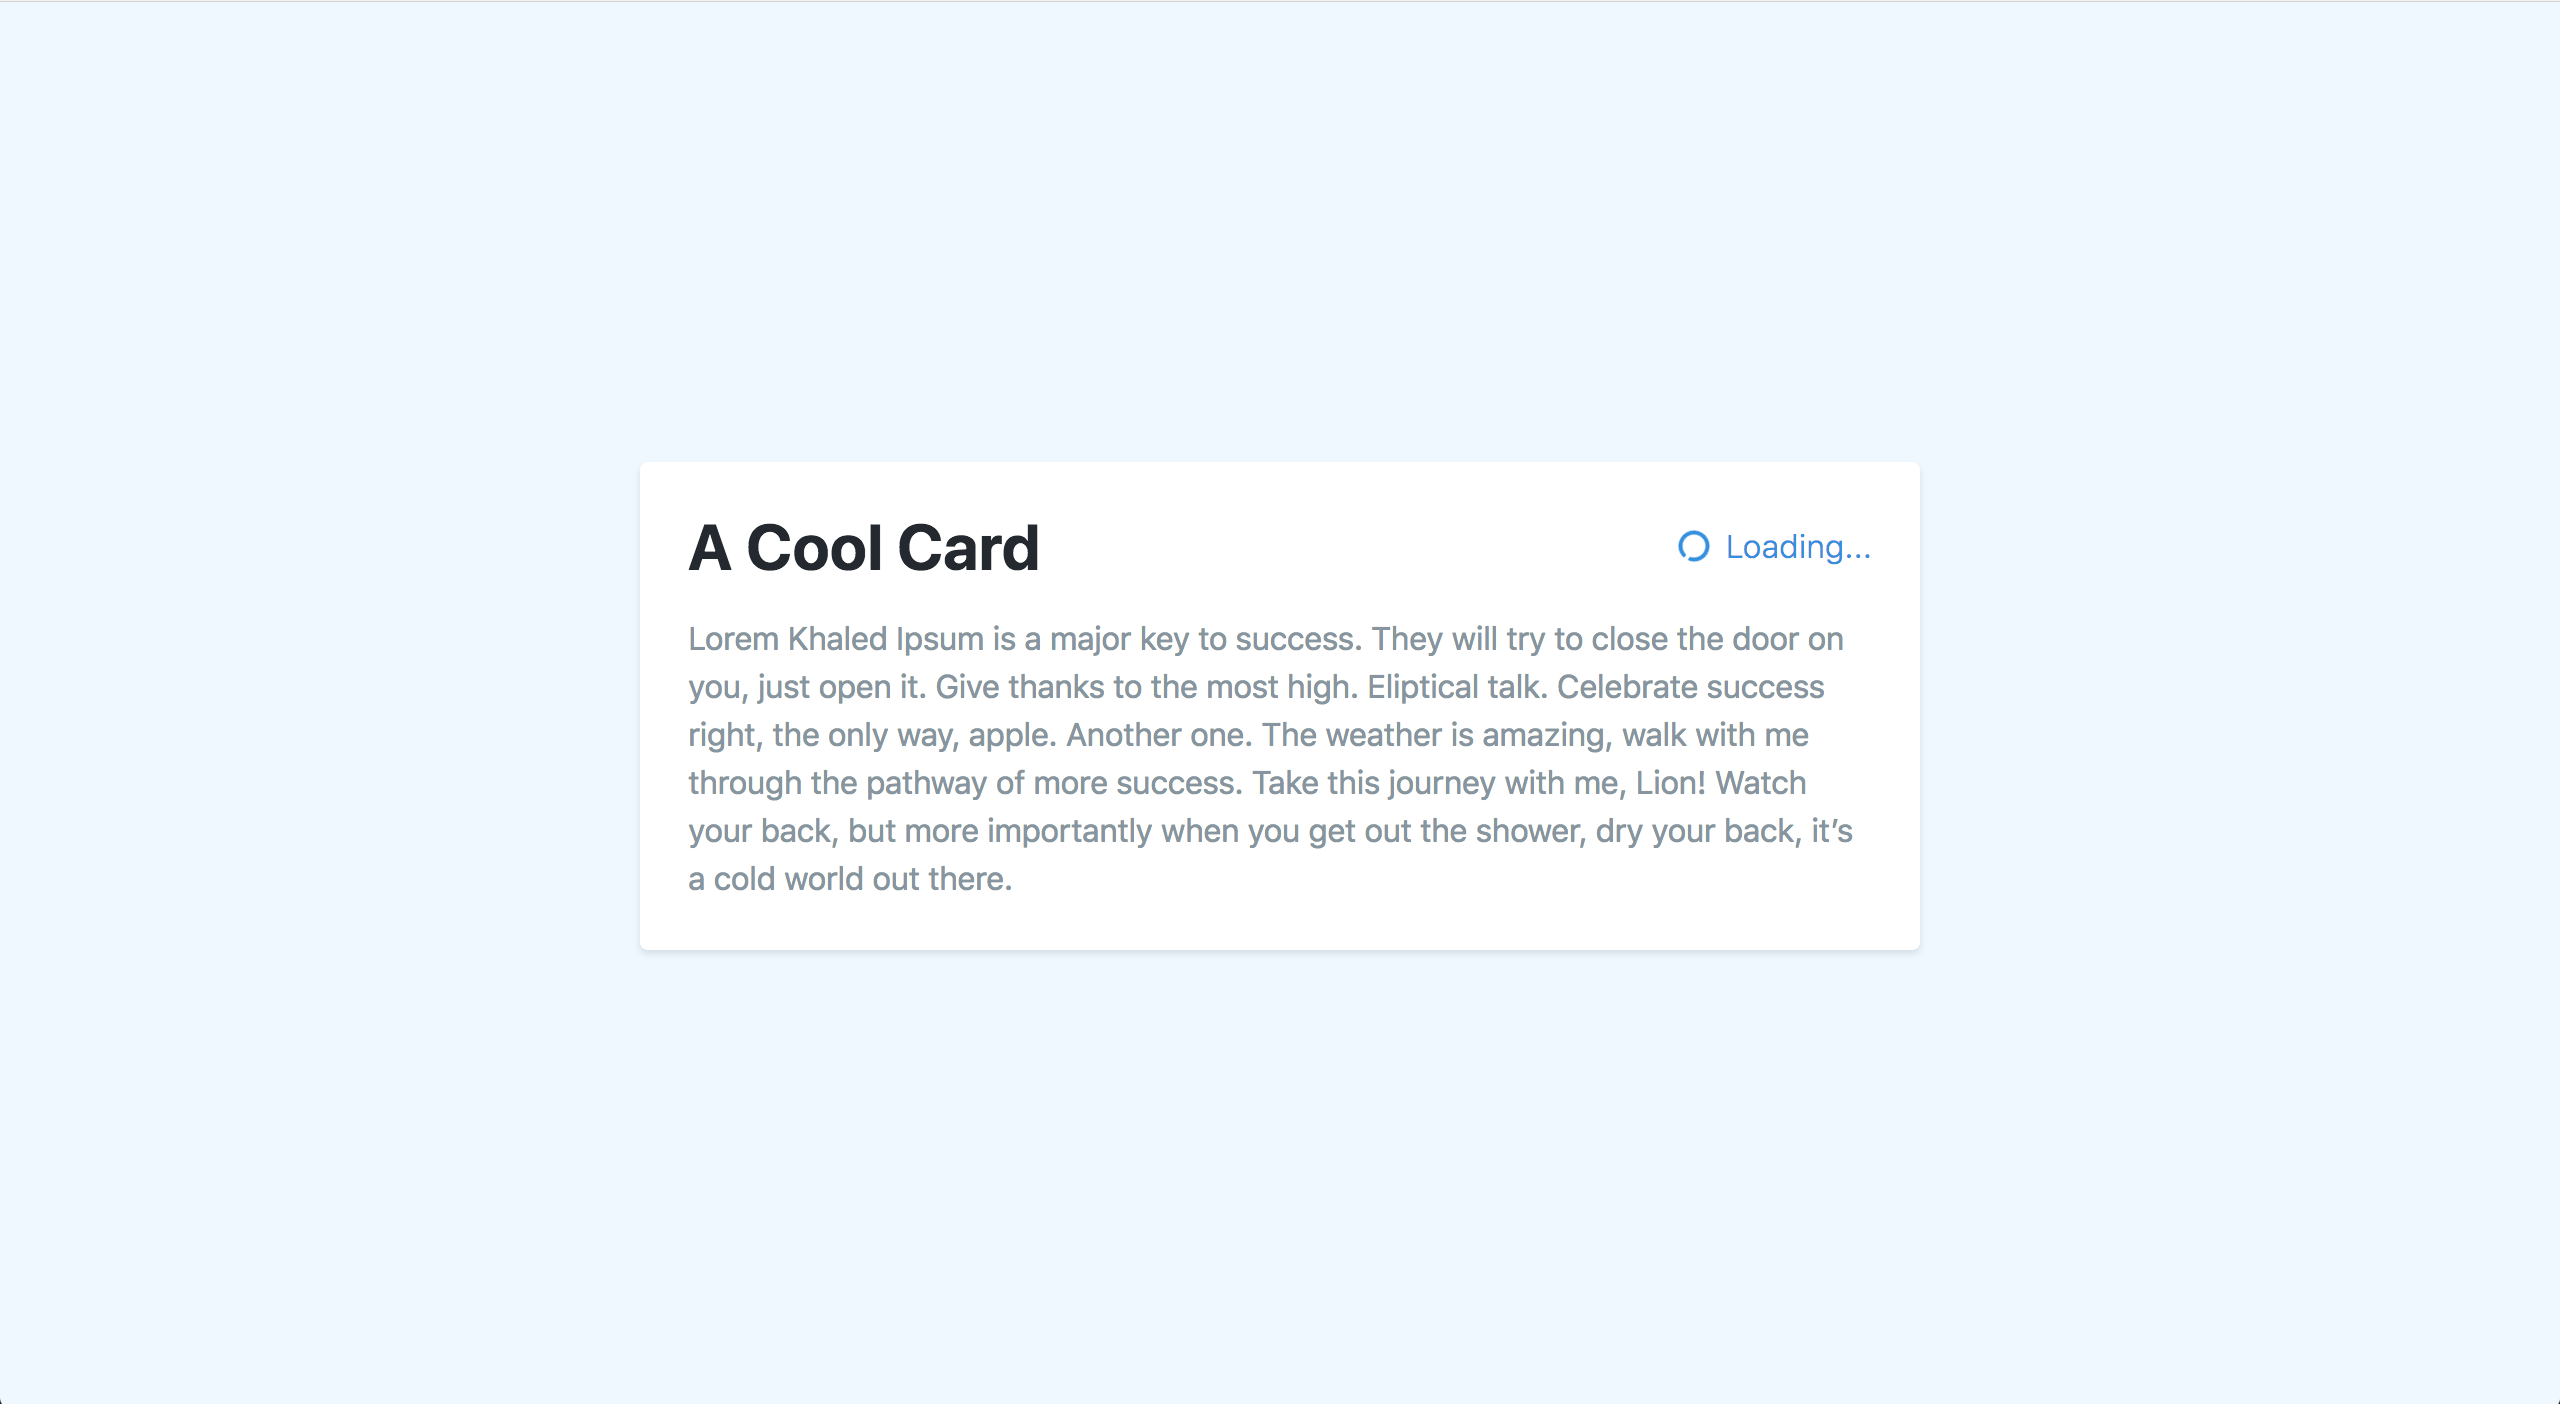
Let's add some Tailwind classes to center our card, make it more prominent, and style the typography better.
<!DOCTYPE html>
<html lang="en">
<head>
    <meta charset="UTF-8">
    <title>Local State Management</title>
    <link href="https://cdn.jsdelivr.net/npm/tailwindcss/dist/tailwind.min.css" rel="stylesheet">
</head>
<body class="flex item-center justify-center h-screen bg-blue-lightest font-sans">
    <div class="p-6 bg-white rounded shadow max-w-md m-auto">
        <div class="flex justify-between items-center mb-4">
          <h1 class="text-black">A Cool Card</h1>
          <h4 id="loader" class="font-light text-blue">
            <i class="fas fa-circle-notch fa-spin mr-1"></i> Loading...
          </h4>
        </div>
        <div class="text-grey-dark leading-normal">
          <p>Lorem Khaled Ipsum is a major key to success. They will try to close the door on you, just open it. Give thanks to the most high. Eliptical talk. Celebrate success right, the only way, apple. Another one. The weather is amazing, walk with me through the pathway of more success. Take this journey with me, Lion! Watch your back, but more importantly when you get out the shower, dry your back, it’s a cold world out there.</p>
        </div>
    </div>

    <script defer src="https://use.fontawesome.com/releases/v5.0.9/js/all.js" integrity="sha384-8iPTk2s/jMVj81dnzb/iFR2sdA7u06vHJyyLlAd4snFpCl/SnyUjRrbdJsw1pGIl" crossorigin="anonymous"></script>
    <script src="https://cdn.jsdelivr.net/npm/vue@2.5.13/dist/vue.js"></script>
</body>
</html>
It's amazing what a little bit of CSS can do for a UI.
Finally, let's scaffold out the Vue.js code that we can share between our String and Boolean state methods.
We'll start by initializing a Vue instance, setting the el, converting the template to be data-driven, and stubbing out the data and computed property we'll need.
<!DOCTYPE html>
<html lang="en">
<head>
    <meta charset="UTF-8">
    <title>Local State Management</title>
    <link href="https://cdn.jsdelivr.net/npm/tailwindcss/dist/tailwind.min.css" rel="stylesheet">
</head>
<body class="flex item-center justify-center h-screen bg-blue-lightest font-sans">
    <div class="p-6 bg-white rounded shadow max-w-md m-auto">
        <div class="flex justify-between items-center mb-4">
          <h1 class="text-black">A Cool Card</h1>
          <h4 v-if="state'" id="loader" class="font-light text-blue">
            <i v-show="state" class="fas fa-circle-notch fa-spin mr-1"></i>
            <i v-show="state" class="far fa-check-circle mr-1"></i>
            {{ header }}
          </h4>
        </div>
        <div class="text-grey-dark leading-normal">
          <p>Lorem Khaled Ipsum is a major key to success. They will try to close the door on you, just open it. Give thanks to the most high. Eliptical talk. Celebrate success right, the only way, apple. Another one. The weather is amazing, walk with me through the pathway of more success. Take this journey with me, Lion! Watch your back, but more importantly when you get out the shower, dry your back, it’s a cold world out there.</p>
        </div>
    </div>

    <script defer src="https://use.fontawesome.com/releases/v5.0.9/js/all.js" integrity="sha384-8iPTk2s/jMVj81dnzb/iFR2sdA7u06vHJyyLlAd4snFpCl/SnyUjRrbdJsw1pGIl" crossorigin="anonymous"></script>
    <script src="https://cdn.jsdelivr.net/npm/vue@2.5.13/dist/vue.js"></script>
    <script>
      var shoppingList = new Vue({
        el: '#loader',
        data: {
          state: null
        },
        computed: {
          header() {

            return '';
          }
        }
      })
    </script>
</body>
</html>
Bada bing bada boom, we've got ourselves an excellent component to use. Now let's see the different ways of managing our state.
Boolean Method
First up, the Boolean method. This was the first way to manage state that I figured out, and it makes sense. I've found that I typically use states to work with Vue's conditional directives, so I would frequently see myself toggling state booleans.
This is a little abstract, so let's put this into action in our component. We'll start by setting our state property to an Object, and then add a few boolean properties for our different states.
data: {
    state: {
        default: true,
        loading: false,
        done: false
    }
}
As you can see, we're being explicit about what states we'd like to be managing. I think that this is the most significant benefit of this approach - you can see all of the possible component states by looking at your state Object.
This can be super useful if you're working with a large, complicated component. Although, if you find yourself managing too many state properties or a nested state Object, then that might be a code-smell for refactoring into smaller components.
Let's finish the rest of our component so it can respond to our new state data. We can add some logic to our header computed property to return an appropriate String according to the state.
computed: {
  header() {
       if(this.state.loading) {
      return 'Loading...';
    }

    if(this.state.done) {
      return 'Done!';
    }

    return '';
  }
}
Then we can update our template to show the corresponding icon.
<h4 v-if="!state.default" id="loader" class="font-light text-blue">
    <i v-show="state.loading" class="fas fa-circle-notch fa-spin mr-1"></i>
    <i v-show="state.done" class="far fa-check-circle mr-1"></i>
    {{ header }}
</h4>
As you can see, with this method we're incredibly explicit about how our template and computed property should react to our state. As I mentioned early, this is the advantage of using the Object method. However, the drawback to this approach is that it can be tedious to update our state.
Right now, we'd have to reset all of the other states if we wanted to toggle one state. And, imagine if we wanted some parts of our state to be toggled while others should be reset. All of a sudden, this can get pretty tricky because we need to be explicit about what state we'd like to transition to.
Now, let's see how the String method compares to the Object method.
String Method
With the String method, we won't use an Object to maintain a list of all the possible state combinations. Instead, we'll just set our state to a String to keep track of the current state.
Let's see how to do that with our component. We'll start by updating our data to us a String.
data: {
    state: 'default',
}
With this approach, we can quickly tell the current state of our component. This is tremendously helpful when we're debugging an issue or testing different permutations of our component.
Let's take a closer look at this by finishing our component. Once again, we'll start by updating our computed property.
computed: {
  header() {
       if(this.state === 'loading') {
      return 'Loading...';
    }

    if(this.state === 'done') {
      return 'Done!';
    }

    return '';
  }
}
And now we can update our template.
<h4 v-if="state !== 'default'" id="loader" class="font-light text-blue">
    <i v-show="state === 'loading'" class="fas fa-circle-notch fa-spin mr-1"></i>
    <i v-show="state === 'done'" class="far fa-check-circle mr-1"></i>
    {{ header }}
</h4>
As I'm sure you've figured out, the String approach has the opposite pros and cons when compared to the Object method. It is excellent at showing the current state of the component, but it's hard to see all of the possible states.
This can be alleviated by adding a comment the lists all of the states, but that doesn't feel like the best solution either. Additionally, using the String method implies that you only have one "active" state to worry about in your component.
While this may be true for a simple component like our loader, this isn't always the case. If you think of a form component, we might have to keep track of a submitted and error state independently. This could get be difficult to manage with just one string.
The Wrap-Up
Both the Object and the String method are viable options for managing our local state. While the Object approach is excellent at giving us a lot of flexibility and visibility into all of the possible states, it can be hard to manage and see what the current state is at any given moment.
Meanwhile, the String approach presents the opposite set of pros and cons. It is exceptional at showing the current state and very easy to update, but it's much harder to keep track of all the possible permutations.
In my projects, my current rule of thumb is to always start with the String method. That way I can quickly iterate through the states my component will need. If I find myself relying on a lot of different states, then I'll consider refactoring to the Object method or see if I can split my component into smaller pieces.
As you get comfortable with these approaches, I'm sure you come up with your own flow. Maybe you'll come up with an even better approach! As always, feel free to ask me any questions on Twitter. And until next time, happy researching!