
In my last post, we started building a simple CRM using Laravel Nova. It was pretty complete when we left it, but I think we can add a few more features and explore the rest of what Nova has to offer. In this walkthrough, we'll take a look at how to use Nova's Actions and authorization.
Set Up
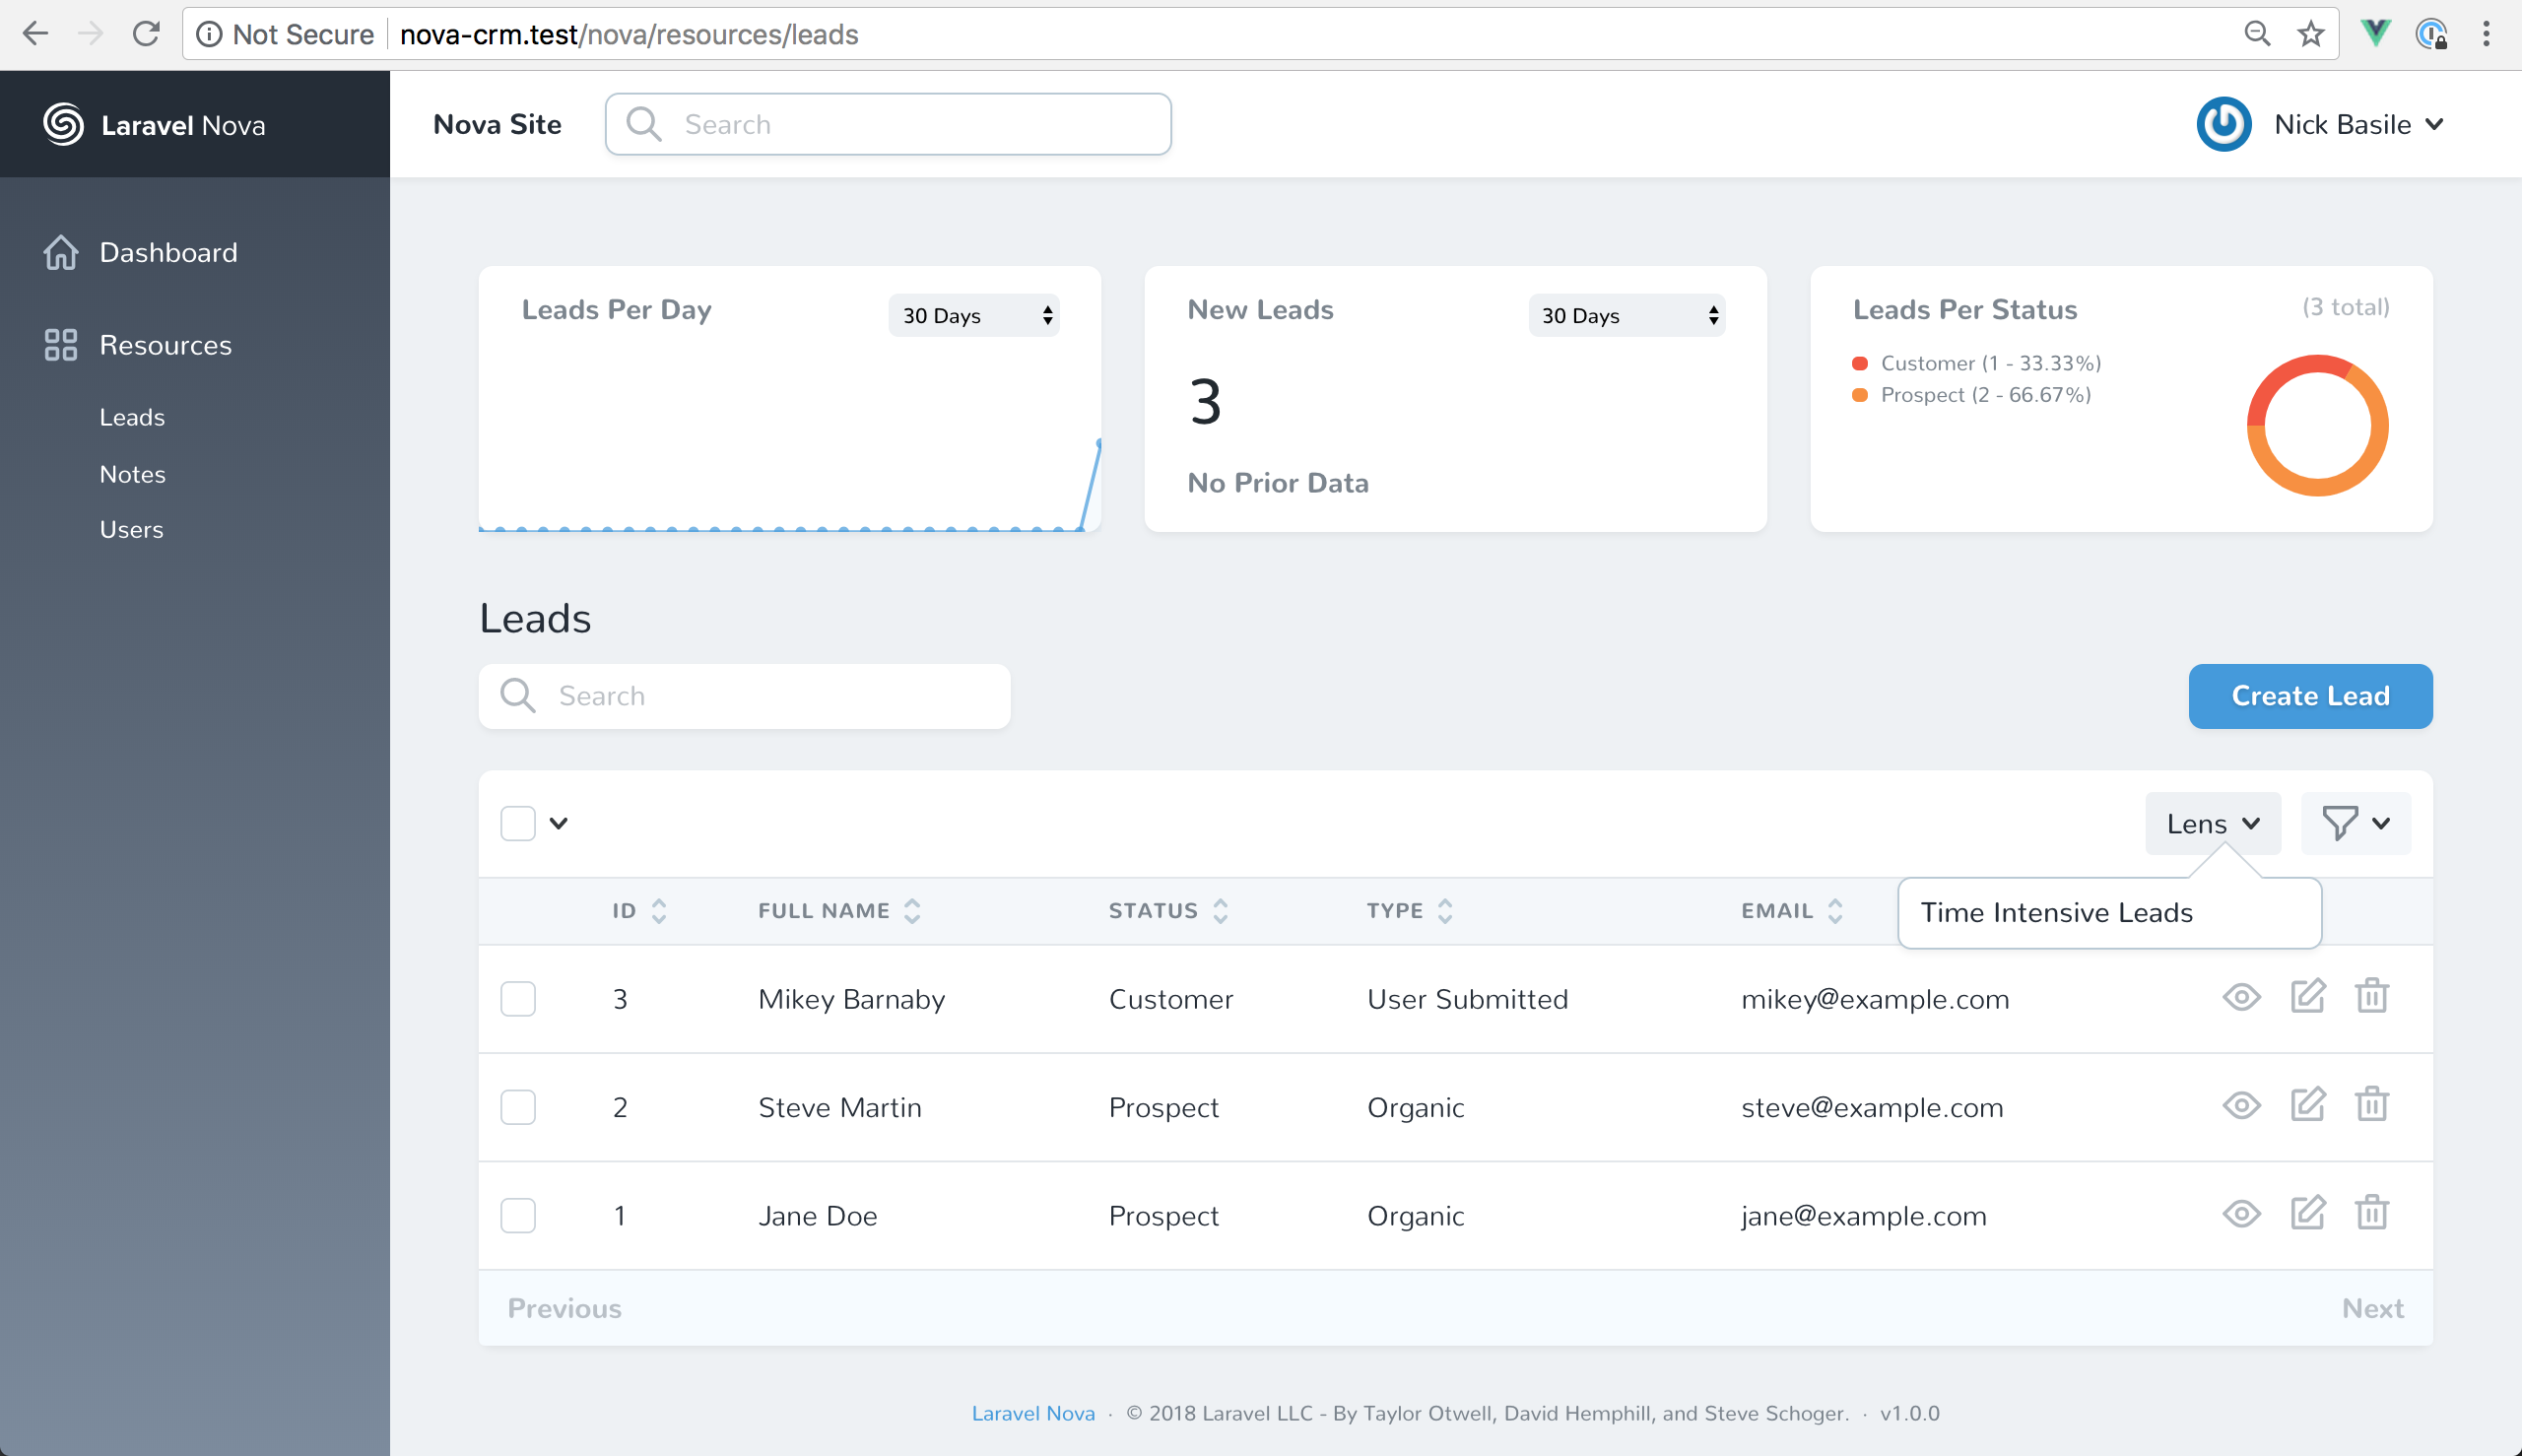
If you're brand new to Nova, I recommend checking out my "Getting Started With Laravel Nova" post where I explained in detail how to install and set up Nova on your machine. For this walkthrough, I'm going to assume that you've followed along with the previous CRM post. So, you should be able to log in and see this screen:
Improving Our CRM
First up, let's add a Nova Action to our CRM. Actions let us perform updates and other pre-defined activities straight from our index page. This is great because we don't have to drop into the edit page to make changes, and we're even able to do mass updates to lots of records at once!
Actions
For our CRM, it would be great if we could update our Leads' statuses directly from the index page. That way our sales team could quickly manage the Leads as they're making sales calls.
To start, we'll use the Nova cli generator to spin up an Action for us using the following command.
php artisan nova:action UpdateLeadStatus
This command creates an Actions directory inside our app\Nova directory and places our Action file inside of it. Our generated UpdateLeadStatus.php file looks like this:
<?php

namespace App\Nova\Actions;

use Illuminate\Bus\Queueable;
use Laravel\Nova\Actions\Action;
use Illuminate\Support\Collection;
use Laravel\Nova\Fields\ActionFields;
use Illuminate\Queue\SerializesModels;
use Illuminate\Queue\InteractsWithQueue;
use Illuminate\Contracts\Queue\ShouldQueue;

class UpdateLeadStatus extends Action
{
    use InteractsWithQueue, Queueable, SerializesModels;

    /**
     * Perform the action on the given models.
     *
     * @param  \Laravel\Nova\Fields\ActionFields  $fields
     * @param  \Illuminate\Support\Collection  $models
     * @return mixed
     */
    public function handle(ActionFields $fields, Collection $models)
    {
        //
    }

    /**
     * Get the fields available on the action.
     *
     * @return array
     */
    public function fields()
    {
        return [];
    }
}
As you can see, we have a handle() and fields() methods provided for us. The fields() method let us prompt the user for data when the initiate the action in the UI, and the handle() method is where we'll be writing the logic that completes the action.
Let's define our fields() first so we can use them in the handle(). In our case, we'd like to ask the user which status they want the Lead to have. So to do that, we can use the same code that we used in our Lead Resource.
public function fields()
{
    return [
        Select::make('Status')
            ->options(\App\Lead::getStatuses()),
    ];
}
Now, that we can receive the user's status selection, we can code out our handle() method.
public function handle(ActionFields $fields, Collection $models)
{
    foreach ($models as $model) {
        $model->status = $fields->status;
        $model->save();
    }
}
In our handle(), we're iterating over all of the $models, setting the $model's status to what is selecting in the UI, and then saving the $model. We need to make sure we iterate over the $models because it is always provided as a collection, even if only one model is being updated.
Now that our Action is finished, we can register it in our Lead Resource and see it in the UI.
public function actions(Request $request)
{
    return [
        new Actions\UpdateLeadStatus,
    ];
}

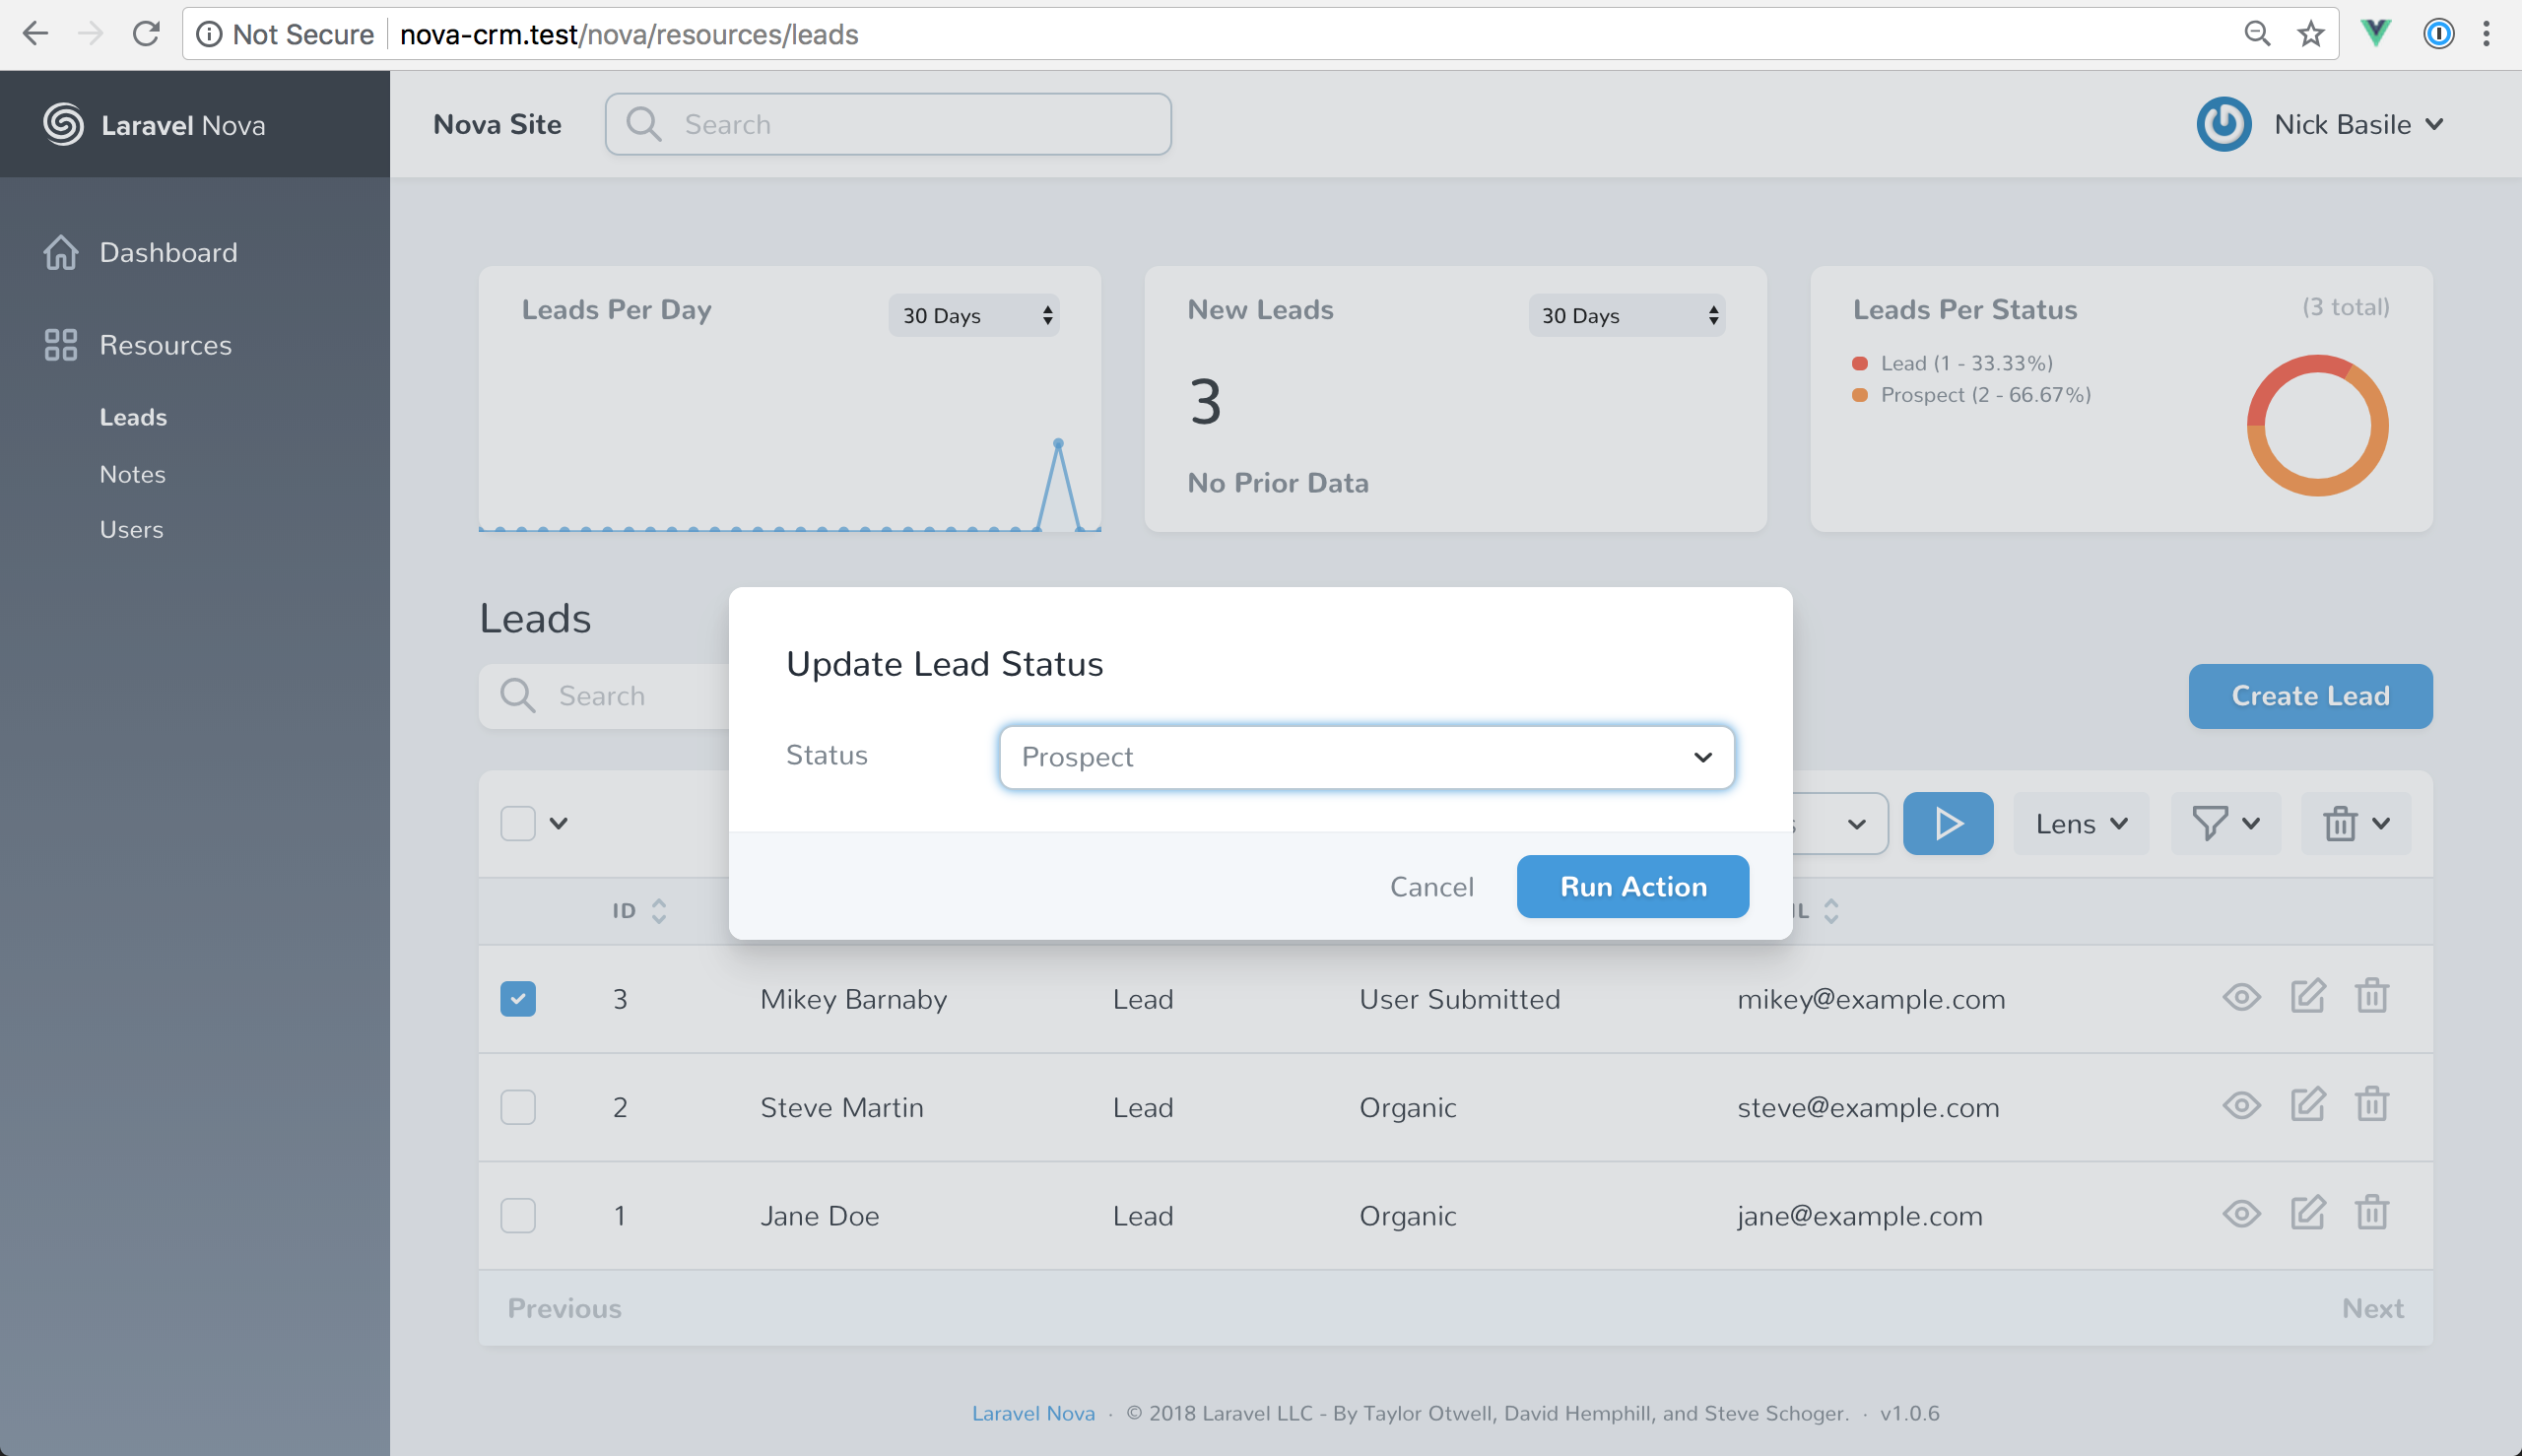
When using Actions from the index page, it's important to remember that the Actions will only appear after you've selected a record to update. After I registered my Action for the first time, I spent a long time trying to figure out why it didn't appear as the Lenses and Filters did.
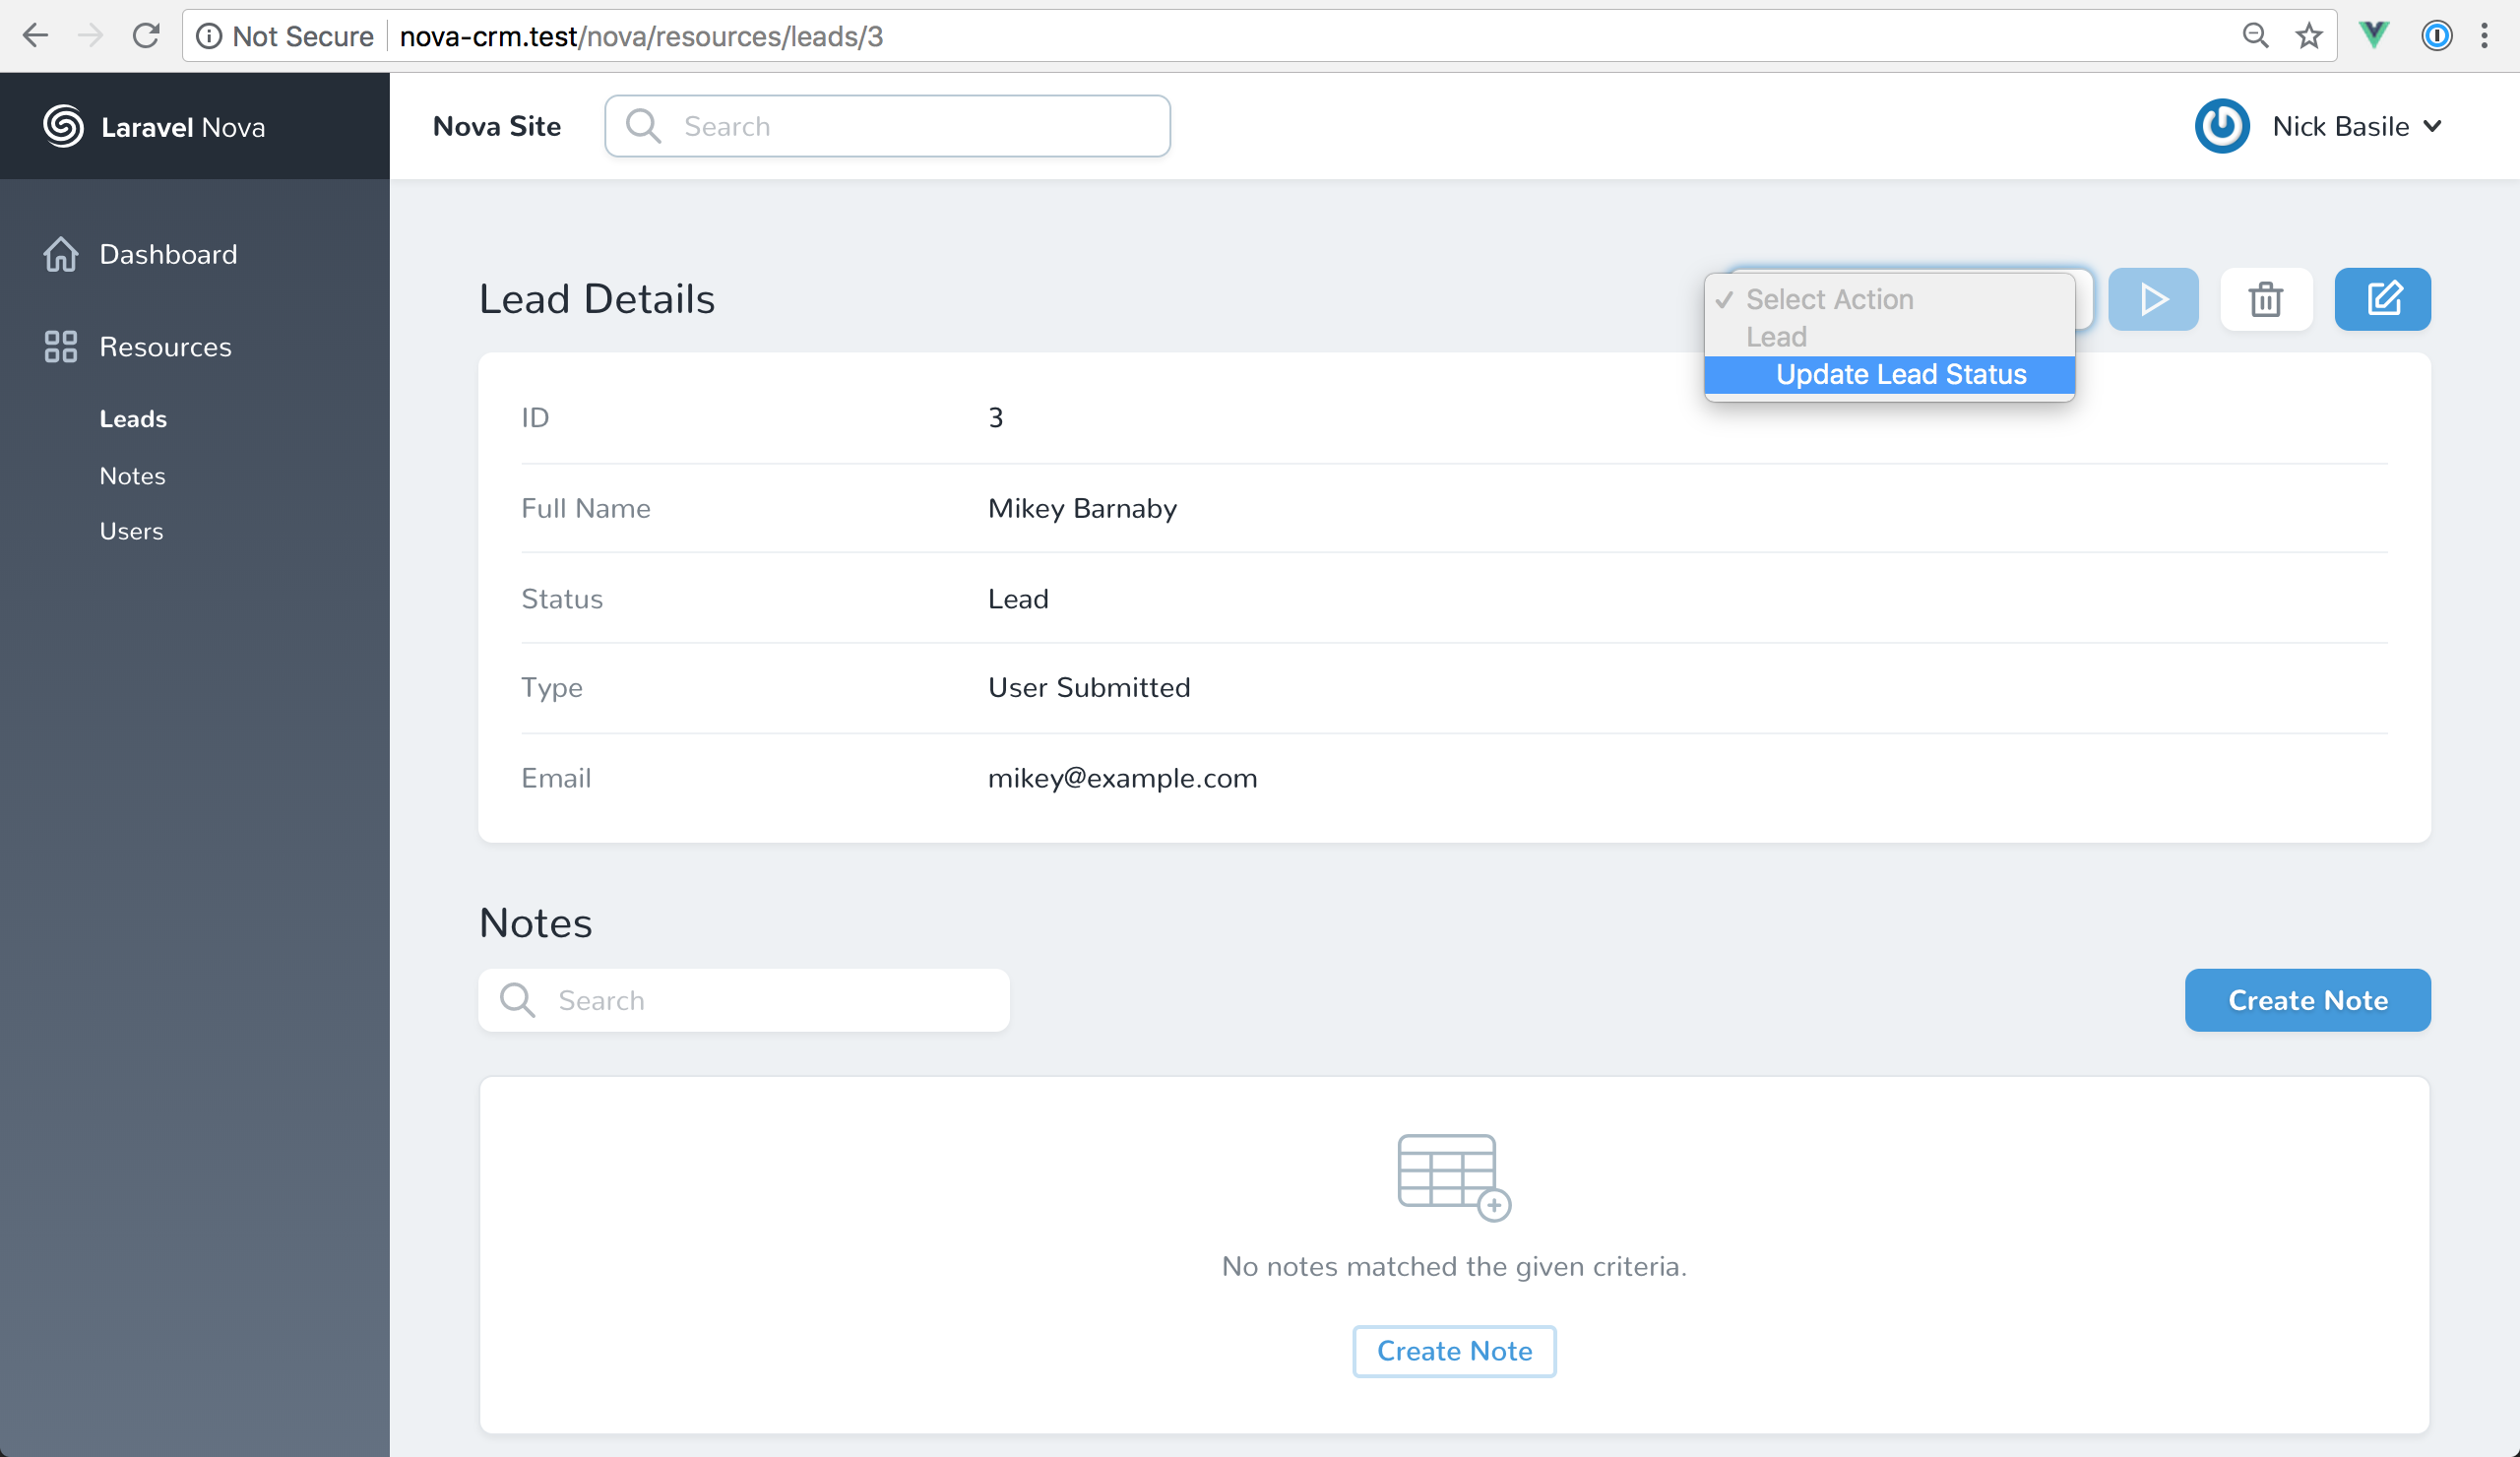
We can also run Actions directly from our Lead's view page. I can be this being super useful if you found a Lead via the search bar and needed to run a custom Action on them.
Now that we have our Action in place let's take move on to our CRM's authorization.
Authorization
Ensuring that users can only interact with features that they have access to is a huge deal. In past projects, this is always a massive undertaking and critically important to its success. Fortunately, Nova makes this a breeze for us as well.
For our CRM, since this is an internal tool used by our team, we don't have tons of access issues to deal with. However, let's make sure that only our Admin users can delete Leads, Users, and Notes.
First, we'll need to add an isAdmin() method to our User Model so we can check if a given user is an Admin. You could store this in the database, or use a package like Spatie's laravel-permissions. However, for this simple project, we'll just hard code it.
public function isAdmin()
{
    $admin_emails = [
        '<your-user-email>'
    ];

    return in_array($this->email, $admin_emails);
}
Now that we have our access requirements in place, we can start setting up our Authorization. Out-of-the-box, Nova is set up to work with Laravel's Policies.
From the docs, "Policies are classes that organize authorization logic around a particular model or resource. For example, if your application is a blog, you may have a Post model and a corresponding PostPolicy to authorize user actions such as creating or updating posts."
Nova is smart enough to pick up on the policies we've defined and use them to lock down our admin section. So, let's generate our Policies and implement our authorization logic.
To start, we'll use php artisan to spin up some Policies.
php artisan make:policy UserPolicy -m User && php artisan make:policy LeadPolicy -m Lead && php artisan make:policy NotePolicy -m Note
Now we need to register them in our AuthServiceProvider.php.
protected $policies = [
    'App\User' => 'App\Policies\UserPolicy',
    'App\Lead' => 'App\Policies\LeadPolicy',
    'App\Note' => 'App\Policies\NotePolicy',
];
With the Policies registered, we can run through all of the pre-generated methods and define our access logic.
public function view(User $user, <model> $model)
{
    return true;
}

public function create(User $user)
{
    return true;
}

public function update(User $user, <model> $model)
{
    return true;
}

public function delete(User $user, <model> $model)
{
    return $user->isAdmin();
}

public function restore(User $user, <model> $model)
{
    return $user->isAdmin();
}

public function forceDelete(User $user, <model> $model)
{
    return $user->isAdmin();
}
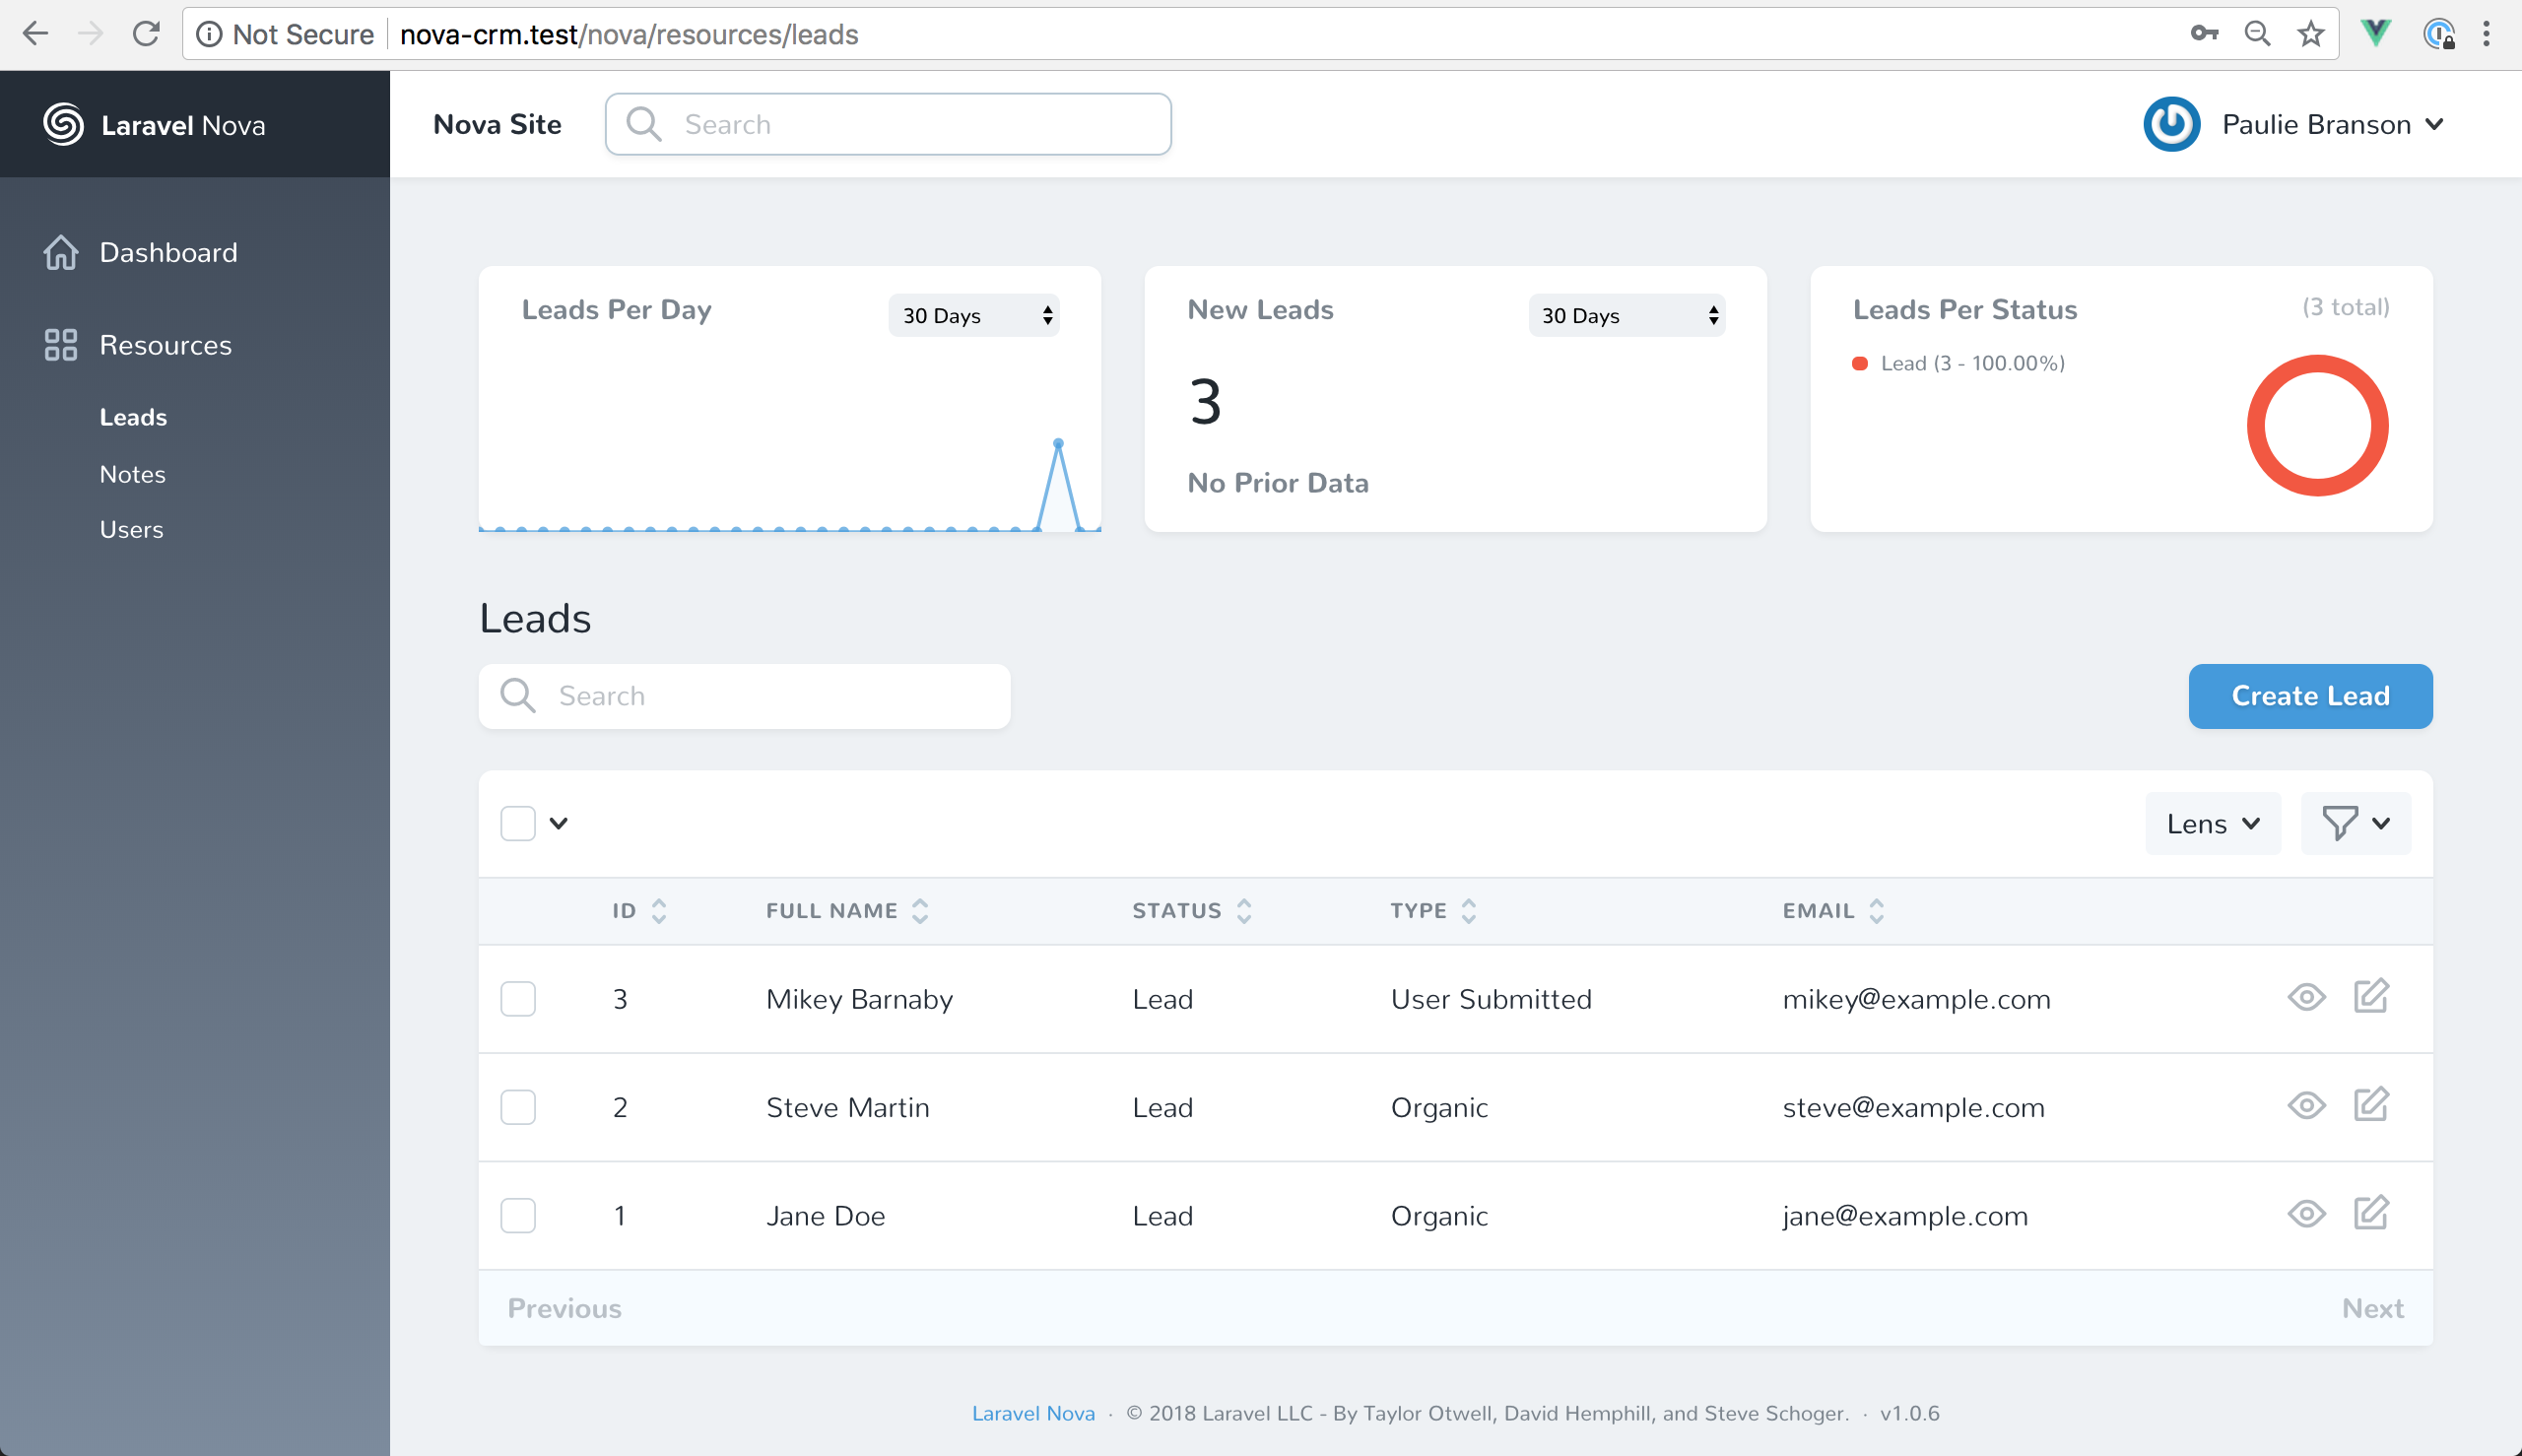
Just like that, we're only allowing Admin users to delete our models. If we take a look at the Admin as another user, we'll notice that all of the delete buttons have been removed from the UI.
The Wrap-Up
Once again, we've seen how quick and easy it is to use Nova to implement features that would have taken significant engineering efforts in the past. I hope these walkthroughs have given you a baseline understanding of how to use Nova, and I can't wait to see what we'll build next! As always, feel free to ask me any questions on Twitter. And until next time, happy coding!