Happy New Year! To kick 2018 off right, I think we should finish what we started in 2017. Let's wrap up our Todo app by finishing the rest of the controller actions that we defined last time. To follow along with this tutorial, you can download a copy of this project on GitHub.
Back to the Controller
Hopping back into our project, let's find our Controller at app/Http/Controllers/TodoController.php. If you recall from the last post, we used Laravel to scaffold out our Controller, and took the time to create the index() and store() methods.
Let's take a look at what we have left. We still need to code out the create(), show(), edit(), update(), and destroy() methods. However, since we're using Vue.js and taking a bit more of an API-driven approach, we can ignore the create() and edit() methods because they're used for routing rather than data manipulation. So, let's start by removing create() and edit() from our TodoController.php.
Show()
With those out of the way, we can focus on coding the rest of our methods starting with show(). Out-of-the-box, we can see that Laravel provides us with the following:
public function show(Todo $todo)
{

}
Here we can see that the default method is encouraging us to take advantage of Route Model Binding. This lets us skip some code because we don't have to query for the todo we're looking for. Instead, Laravel recognizes that we're looking for a todo and automatically injects it into our route for us.
Leveraging this handy tool, we can write our method like so:
public function show(Todo $todo)
{
    return response($todo, 200);
}
All we're doing here is returning the $todo that Laravel injected for us. Pretty cool, right? With the show() method out of the way, let's jump to the "toughest" method we'll be writing today: update().
Update()
Once again, our scaffold has provided us with a useful method to get started.
public function update(Request $request, Todo $todo)
{

}
This time, we're receiving the $request and then the $todo. So, just like in our store() method, we'll validate the data we're receiving, and then we'll update the todo we received from our Route Model Binding.
public function update(Request $request, Todo $todo)
{
    $data = $request->validate([
        'text' => 'required',
        'finished' => 'required|boolean',
    ]);

    $todo->update($data);

    return response($todo, 200);
}
And just like that, we've completed our update() method!
Delete()
Finally, we're ready to finish our delete() method. Again, Laravel provides a nice place to start.
public function destroy(Todo $todo)
{

}
As you can see, we once again have the $todo from our Route Model Binding. So, we just need to delete it and return a success message.
public function destroy(Todo $todo)
{
    $todo->delete();

    return response('Deleted Succesfully', 200);
}
And, just like that, our Laravel backend is all done. With our show(), update(), and delete() methods done, we can hop back into our Vue code and wire everything up.
But, before we head over there if you're wondering when we should set up our routes, we took care of that in the last post when we used Route::apiResource('todos', 'TodoController'); in web.php. Once again, Laravel is taking care of us.
Wiring Up Our Vue.js
Up to now, we've been able to get away with just one Vue component. Let's take a look at what we have so far. Inside of resources/assets/js/components we can see our component called todo.vue, which looks like this:
<template>
    <div class="bg-white rounded shadow p-6 m-4 w-full lg:w-3/4 lg:max-w-lg">
        <div class="mb-4">
            <h1 class="text-grey-darkest">Todo List</h1>
            <div class="flex mt-4">
                <input class="shadow appearance-none border rounded w-full py-2 px-3 mr-4 text-grey-darker" v-model="newTodo" @keyup.enter="add" placeholder="Add Todo">
                <button class="flex-no-shrink p-2 border-2 rounded text-teal border-teal hover:text-white hover:bg-teal" @click="add" :disabled="newTodo.length === 0">Add</button>
            </div>
        </div>
        <div class="max-h-screen-1/2 overflow-y-scroll">
            <div class="flex mb-4 items-center" v-for="(todo, index) in todos" :key="todo.id">
                <input type="checkbox" class="mr-2" @click="updateStatus(todo)">
                <p class="w-full" :class="todo.finished ? 'line-through text-green' : 'text-grey-darkest'">{{todo.text}}</p>
                <button class="flex-no-shrink p-2 ml-2 border-2 rounded text-red border-red hover:text-white hover:bg-red" @click="remove(index)">Remove</button>
            </div>
            <div v-show="todos.length === 0">
                <p class="w-full text-center text-grey-dark">There are no todos</p>
            </div>
        </div>
    </div>
</template>

<script>
    export default{
        data(){
            return{
                todos: [],
                newTodo: '',
            }
        },
        created() {
          this.getTodos();
        },
        methods: {
            getTodos() {
              const t = this;
              axios.get('/todos')
                  .then(({data}) => {
                    t.todos = data;
                  });
            },
            createTodo(text) {
                const t = this;
                axios.post('/todos', {text: text, finished: false})
                    .then(({data}) => {
                        t.todos.unshift(data);
                    });
            },
            add() {
              const t = this;
              if(t.newTodo.length > 0) {
                  t.createTodo(t.newTodo);
                  t.newTodo = '';
                  t.baseId++;
              }
            },
            updateStatus(todo) {
              todo.finished = !todo.finished;
            },
            remove(index) {
              const t = this;
              t.todos.splice(index, 1);
            }
        }
    }
</script>
At this point, we have a choice to make. We can keep working with just one component, or we could split it into two components. I think that we should separate them into two components, one for the todo list and another for the todo item itself. This way we can isolate behavior that is specific to the list or the item.
To start, let's rename todo.vue to todo-list.vue. We'll need to update the references to it in app.js and welcome.blade.php too. Now, we can create another component file in the same directory called todo-item.vue.
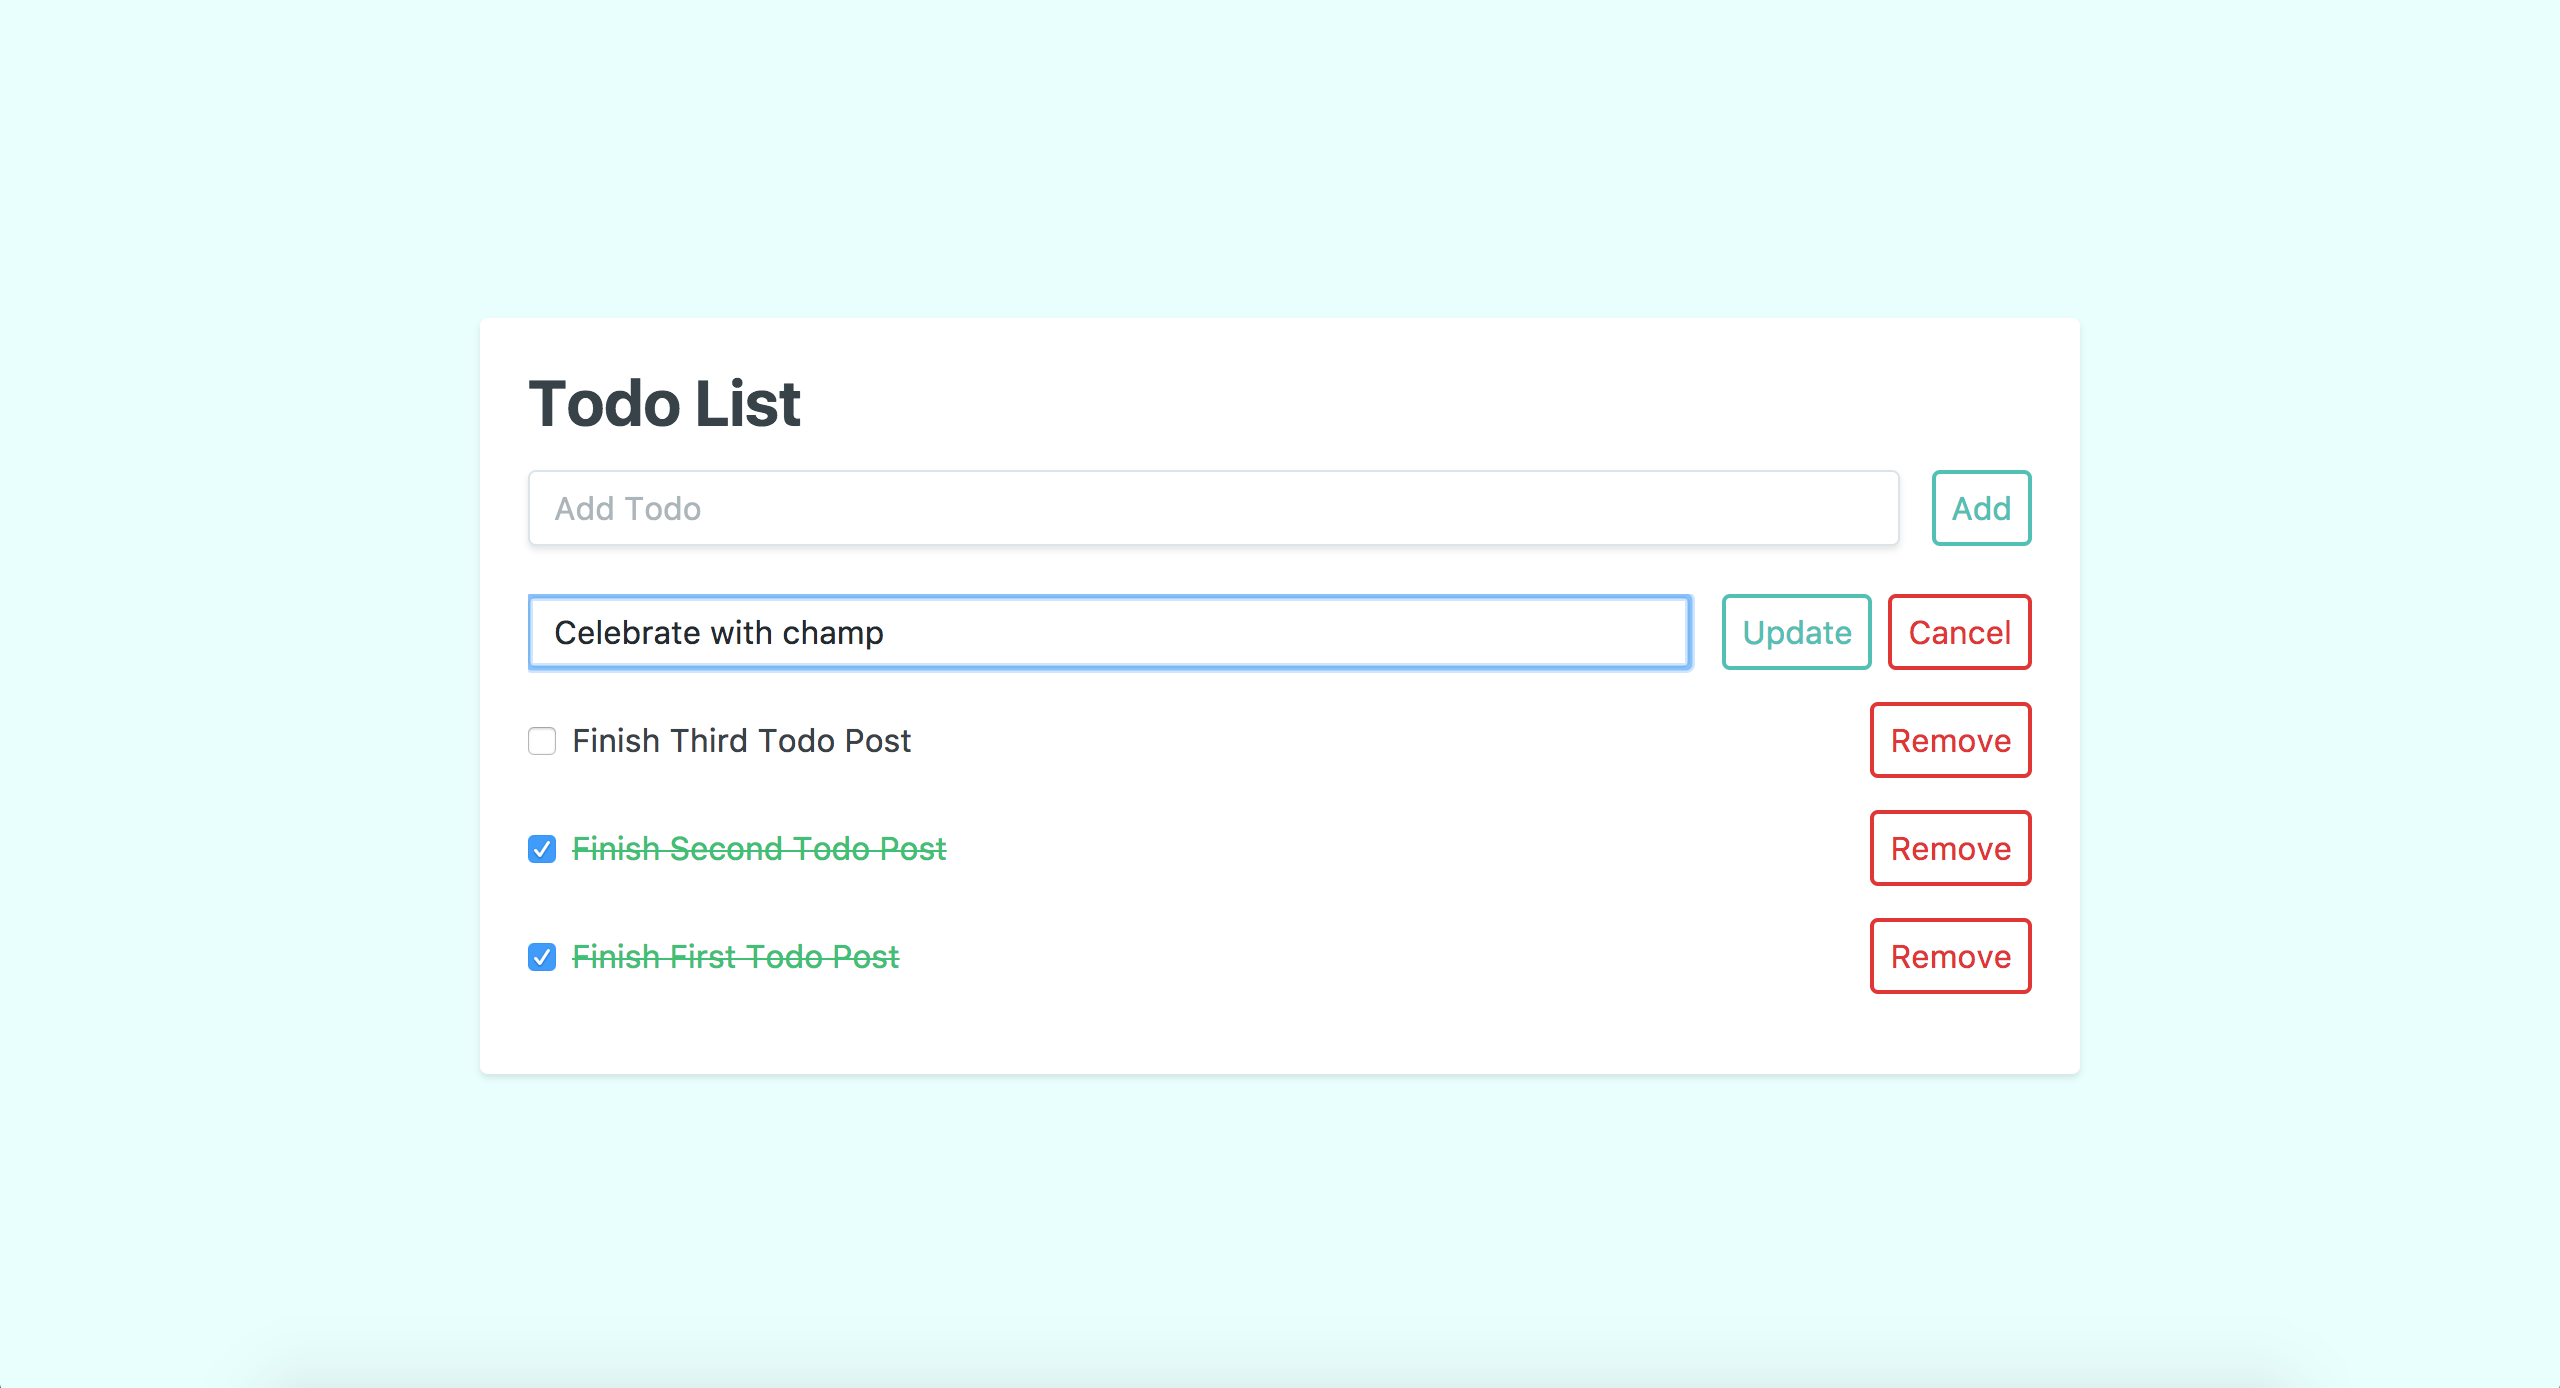
Before we dive into the code, let's take a second to think about what we want our todo items to do. They'll need to be able to complete and remove themselves like they currently do. Plus, they'll need to be able to update themselves as well.
So, let's have our todo items look and act like they do now, and then we can add an input toggle for editing. So, our todo app will end up looking something like this:
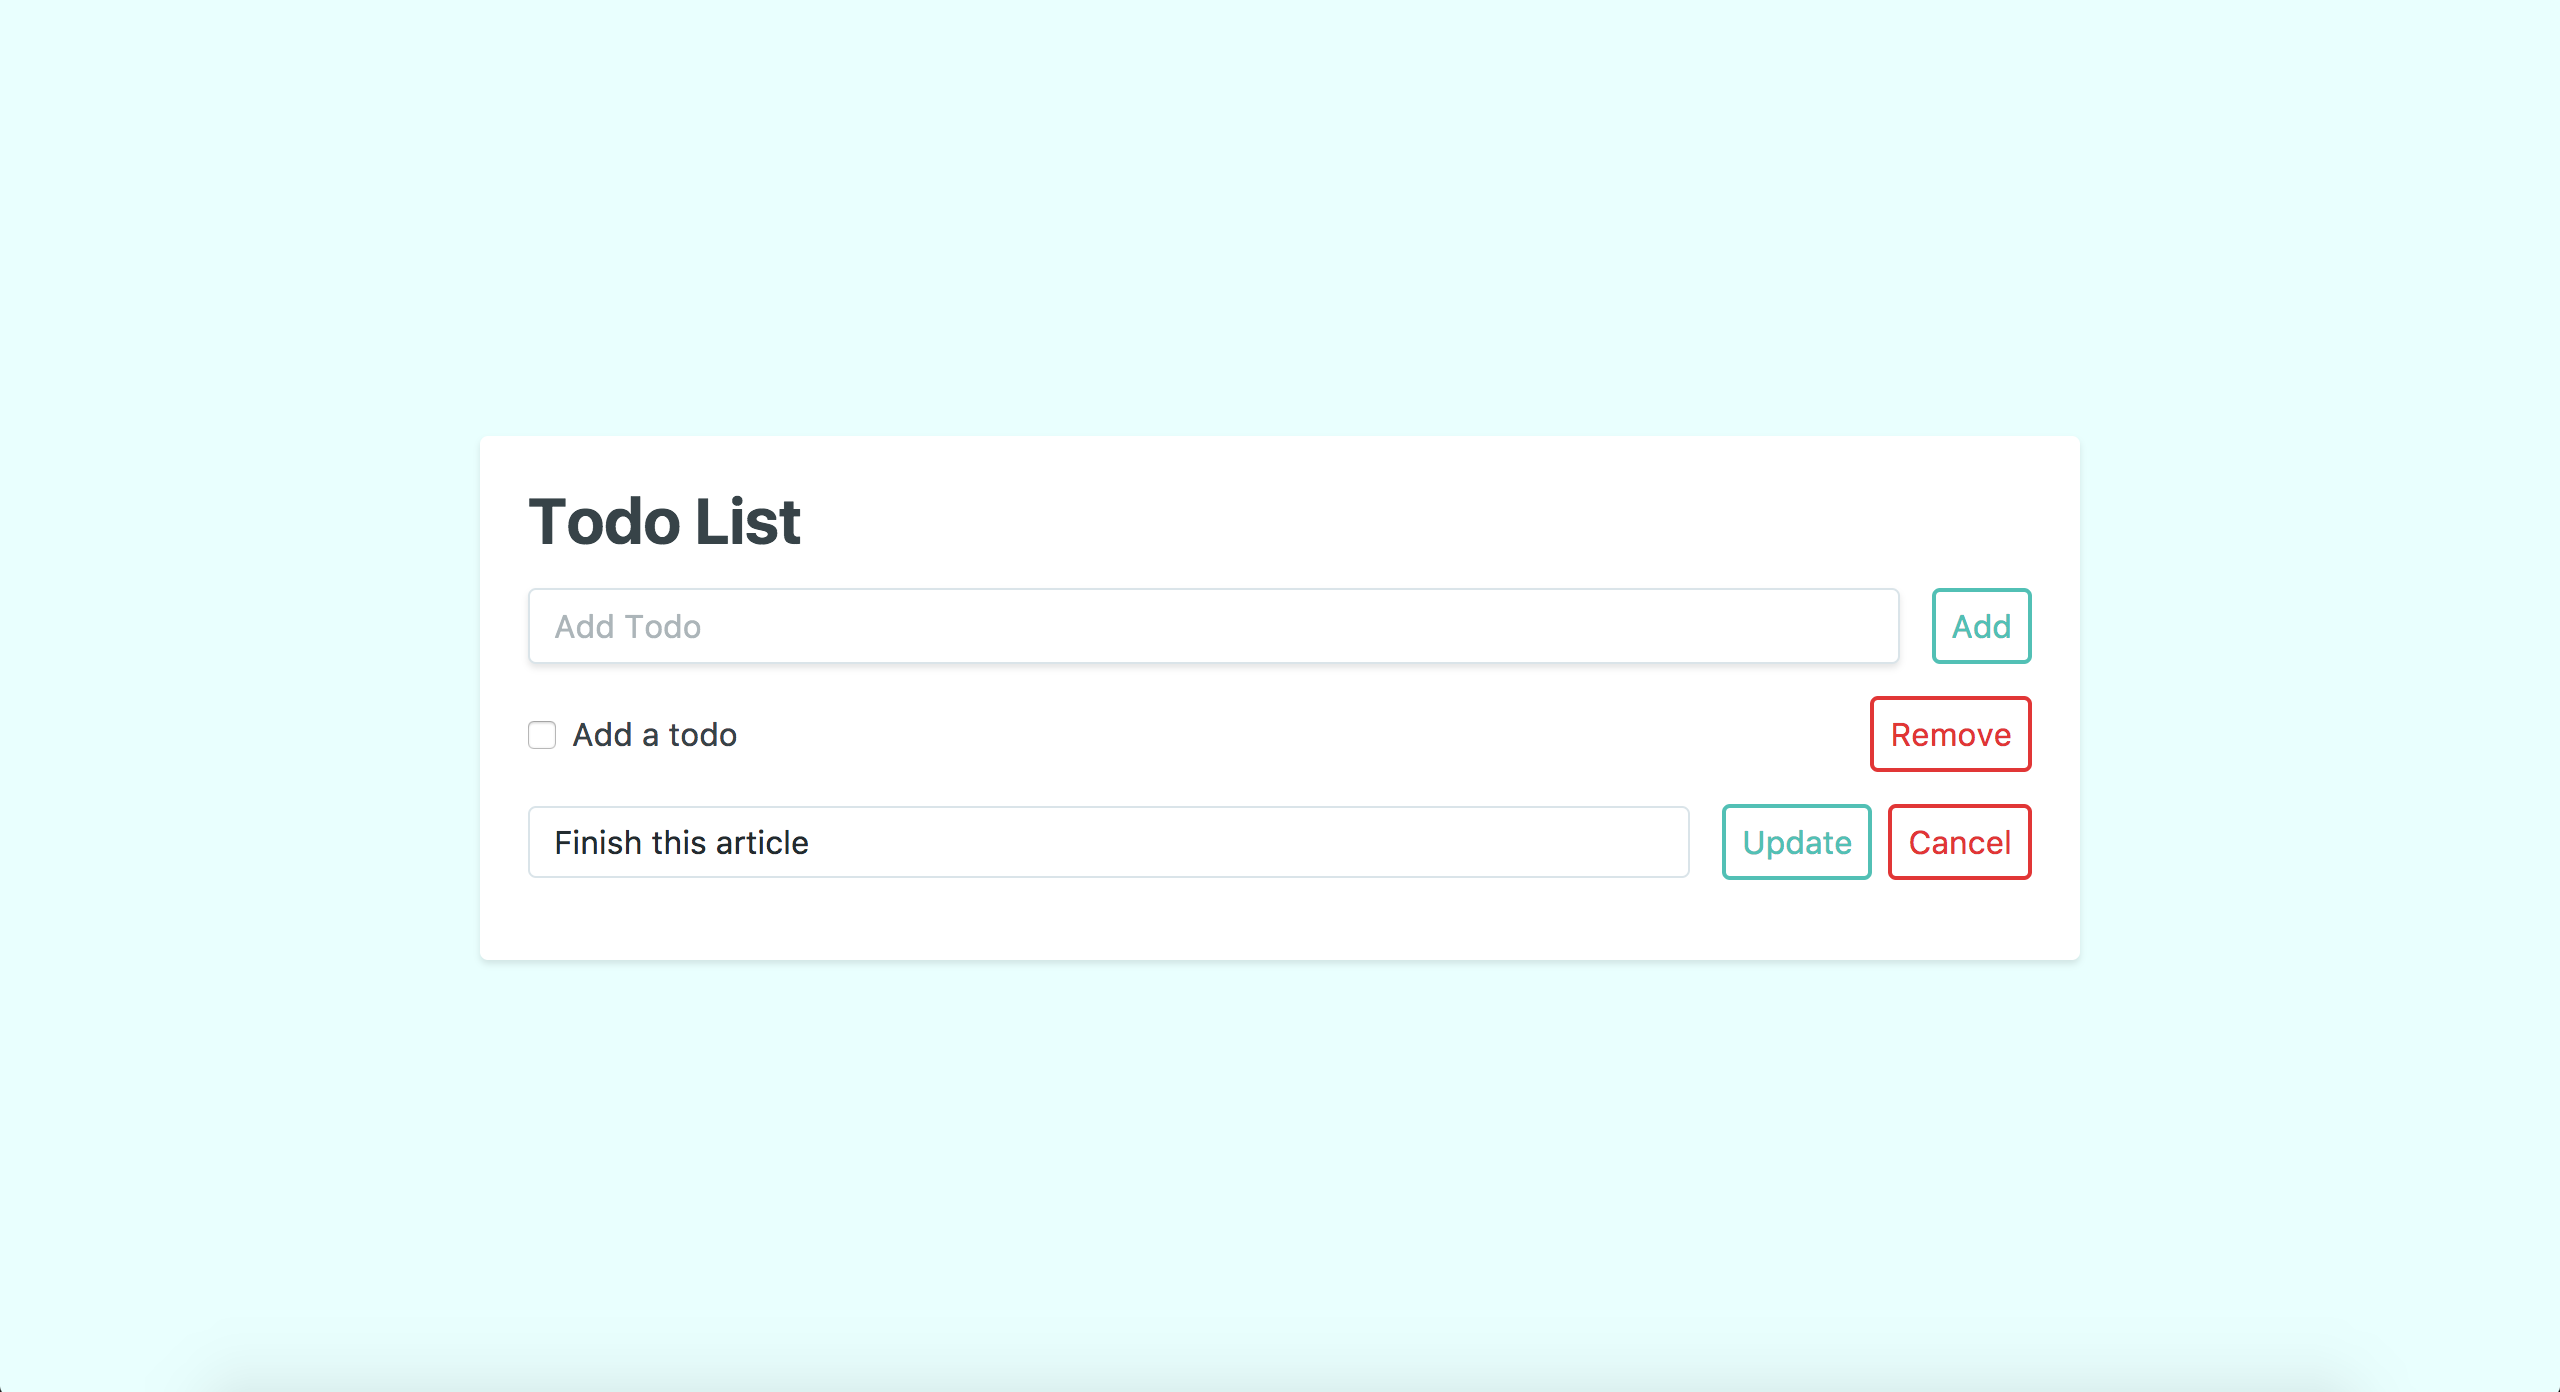
In order to make this happen, we'll need to make some major upgrades to our todo items. They'll need some state management to toggle the editing; methods to handle the updates and deletes, and Tailwind CSS updates to make it all look good.
The Todo Item Template
Putting that all together, our todo-item.vue template will look like this:
<template>
    <div class="mb-4">
        <div class="flex items-center w-full" v-show="state.edit === false">
            <input type="checkbox" class="mr-2" v-model="data.finished" @click="updateTodo">
            <p class="w-auto" :class="data.finished ? 'line-through text-green' : 'text-grey-darkest cursor-pointer hover:text-black hover:font-bold'" @click="startEdit">{{todo.text}}</p>
            <button class="flex-no-shrink p-2 ml-auto border-2 rounded text-red border-red hover:text-white hover:bg-red" @click="remove(index)">Remove</button>
        </div>
        <div class="flex items-center w-full" v-show="state.edit === true">
            <input class="appearance-none border rounded w-full py-2 px-3 mr-2 text-black" v-model="data.text" @keyup.enter="updateTodo" placeholder="Update Todo">
            <button class="flex-no-shrink p-2 ml-2 border-2 rounded text-teal border-teal hover:text-white hover:bg-teal" @click="updateTodo" :disabled="data.text.length === 0">Update</button>
            <button class="flex-no-shrink p-2 ml-2 border-2 rounded text-red border-red hover:text-white hover:bg-red" @click="cancelEdit">Cancel</button>
        </div>
    </div>
</template>
Let's walk through this step-by-step. First, we have a wrapper div, which all Vue components need. Inside we have two more divs, one for the read state and another for the edit. We're toggling each of those based on the state.edit data we've set in our component's data. Now, let's take a look at each of those states.
Inside of the first div, we have the read state. This is very similar to what we had before, except with a few tweaks.
The first few are with the checkbox. We can see that it now has a v-model so we can keep track of it when the user interacts with it. We've also bound a method to its click event to update the todo. We'll look at that in detail in a minute.
Moving along to our <p>, we can see that we've updated the Tailwind classes. We've changed it from .w-full to .w-auto so the click target is only the size of the content and not the space.
We've also added some interactive hover classes to our dynamic class. This provides the user with better feedback when they hover the text. Finally, we've bound a startEdit() method to it so we can toggle the editing state.
Our final element, the <button>, is actually the same! So, let's move on to our edit state template.
Here, we've ventured into new territory. We have three elements in this section, an <input> and two <button>s. The <input> is where the user can change the text of the todo.
We've added some Tailwind classes to it that removes the default browser styling, gives it a rounded border, and positions it within its flex context.
Again, we have a v-model that keeps track of the user's inputs. Finally, we've bound the updateTodo method to the enter event so our users don't have to click the button to save their changes.
Our <button>s are pretty much identical. They have the same Tailwind styles, except the first one is teal while the second is red. For those of you who are keeping score at home, this is an excellent chance to extract some component styles.
The <button>s do start to differ when we look at what they do. The first triggers the updateTodo method on click, while the second changes the state with cancelEdit. Additionally, our first <button> is disabled when the data.text is empty to prevent the user from uploading a blank todo.
And that'll wrap up our template! Now, we can take a look at what we've been doing in our <script>.
The Todo Item Script
<script>
  export default{
    props: ['todo', 'index'],
    data(){
      return{
        state: {
          edit: false,
        },
        data: {
            text: '',
            finished: false,
        }
      }
    },
    mounted() {
      const t = this;

      t.data.text = t.todo.text;
      t.data.finished = t.todo.finished;
    },
    methods: {
      updateTodo() {
        const t = this;

        t.$nextTick(() => {
            bus.$emit('update-todo', {data: t.data, index: t.index, id: t.todo.id});
        })

        t.state.edit = false;
      },
      remove() {
        const t = this;

        bus.$emit('remove-todo', {index: t.index, id: t.todo.id});
      },
      startEdit() {
        const t = this;

        if(t.data.finished === false) {
            t.state.edit = true;
        }
      },
      cancelEdit() {
        const t = this;

        t.state.edit = false;
        t.data.text = t.todo.text;
      }
    }
  }
</script>
Let's start at the top again. Right off the bat, we're passing in the todo and index props to our component. This lets us access the data that our todo-list component is managing.
Inside of our data(), we have two objects: state and data. This is a pattern that I've picked up and really like, but we totally could have just set it up like this too.
data(){
  return{
      edit: false,
      text: '',
      finished: false,
  }
},
The state.edit is taking care of managing when we should be displaying the edit and read sections in the template. While our data is bound to out <input>s, so we can keep track of our user's actions.
Moving along, we can see that in our mounted() lifecycle callback, we're initializing our data() with the todo props details.
Finally, we have our methods() - the bread and butter of this component. Our first method is updateTodo(). Here we're waiting for Vue's next DOM update cycle to emit an event back to todo-list with all the details we need before resetting the edit state.
It's important that we use $nextTick() because we've bound this method to our checkbox. Without it, we'd be firing the event at the same time we're updating the value, so our update wouldn't happen!
Also, this method is using an event bus to emit this information. So, we need to initalize it in our app.js file. Right below window.Vue = require('vue'); we can add window.bus = new Vue();. Now we're cooking with gas.
Our remove() method is doing essentially the same thing as updateTodo - emitting an event back to todo-list with all the details we need to remove a todo.
Meanwhile, startEdit() and cancelEdit are helping us toggle the edit state. startEdit() makes sure we're not editing a completed todo before toggling the state, while cancelEdit() resets the data.text back to its original value.
And that's a wrap! Now, we can take a look at our todo-list's template.
The Todo List Template
For our template, we haven't made too many changes:
<template>
    <div class="bg-white rounded shadow p-6 m-4 w-full lg:w-3/4 lg:max-w-lg">
        <div class="mb-6">
            <h1 class="text-grey-darkest">Todo List</h1>
            <div class="flex mt-4">
                <input class="shadow appearance-none border rounded w-full py-2 px-3 mr-4 text-grey-darker" v-model="newTodo" @keyup.enter="addTodo" placeholder="Add Todo">
                <button class="flex-no-shrink p-2 border-2 rounded text-teal border-teal hover:text-white hover:bg-teal" @click="addTodo" :disabled="newTodo.length === 0">Add</button>
            </div>
        </div>
        <div class="max-h-screen-1/2 overflow-y-scroll">
            <todo-item v-for="(todo, index) in todos" :key="todo.id" :todo="todo" :index="index"></todo-item>
            <div v-show="todos.length === 0">
                <p class="w-full text-center text-grey-dark">There are no todos</p>
            </div>
        </div>
    </div>
</template>
The biggest update is that our v-for is no longer outputting a block of code. Instead, it's outputting our new todo-item component. Additionally, we can see that we're passing it todo and index as props like we defined.
<todo-item v-for="(todo, index) in todos" :key="todo.id" :todo="todo" :index="index"></todo-item>
Other than this tweak, our template hasn't changed. So, let's dive into the script.
The Todo List Script
This is where the magic is happening. As a parent component, our todo-list is in charge of managing the state of all our todos, and the bulk of its functionality does just that.
<script>
    import todoItem from './todo-item'
    export default{
        data(){
            return{
                todos: [],
                newTodo: '',
            }
        },
        created() {
          this.getTodos();
          this.initListeners();
        },
        methods: {
            initListeners() {
                const t = this;

                bus.$on('update-todo', function (details) {
                  t.update(details);
                })

                bus.$on('remove-todo', function (details) {
                  t.remove(details);
                })
            },
            getTodos() {
              const t = this;

              axios.get('/todos')
                  .then(({data}) => {
                    t.todos = data;
                  });
            },
            createTodo(text) {
                const t = this;

                axios.post('/todos', {text: text, finished: false})
                    .then(({data}) => {
                        t.todos.unshift(data);
                    });
            },
            updateTodo(details) {
                const t = this;

                axios.patch('/todos/'+ details.id, details.data)
                  .then(({data}) => {
                    t.todos.splice(details.index, 1, data)
                  })
                },
            removeTodo(details) {
                const t = this;

                axios.delete('/todos/'+ details.id)
                  .then(() => {
                    t.todos.splice(details.index, 1)
                  })
                },
            addTodo() {
              const t = this;

              if(t.newTodo.length > 0) {
                  t.createTodo(t.newTodo);
                  t.newTodo = '';
              }
            },
        },
        components: {
          todoItem
        }
    }
</script>
Right off the bat, you can see that we're importing the todo-item so we can use it in the template. Our data() hasn't changed, but created() sure has.
Now, we're calling initListeners() to - you guessed it - initialize the listeners for the emitters we defined in todo-item. Moving along to our methods, we can see that we have initListeners() defined first.
In here, we've registered our listeners with our event bus, and when they're fired they pass their details into the updateTodo() and removeTodo() methods respectively.
Next, our getTodos(), createTodo(), and addTodo() methods haven't changed. But, right below them are updateTodo() and removeTodo().
In updateTodo() we're making an axios ajax call to our new controller action. Notice that our route uses the todo's id. This is how our Route Model Binding is able to find the todo we need. We're also passing our details.data in the request so we make the changes we defined.
Once the axios call is successful, we splice() in the returned data to our todos at the index of the edited todo in order to maintain our state. Now, it's possible to maintain the state with just Vue, but I've found that this approach minimizes inconsistencies between your backend data and frontend state.
Finally, removeTodo() is doing much the same as updateTodo(). We're making an axios call to our new controller action, and once that's successful we remove the todo from our todos to maintain our state.
Bada bing bada boom, we have ourselves a full-fledged todo app!
The Wrap-Up
There you have it, a todo app built with Laravel, Vue.js, and Tailwind CSS. Looking back on all that we've covered, you should be incredibly proud of yourself. We set up a Laravel project from scratch; added Vue.js and Tailwind CSS; built a Vue todo component and styled it with Tailwind; set up a MySQL database; created a Laravel backend, and finally wired it up to our Vue component. And that doesn't even take into account all the little tweaks and upgrades made along the way.
Even with all of this tremendous progress, there's always more to do. We could make sure it's tested thoroughly with PHP Unit, Vue tests, and Laravel Dusk. We could add user accounts so people can make their own todo lists, and share them with others. We could even spend more time perfecting our UX to make this the best todo app out there!
With your new skills under your belt, I hope that you'll be able to clone the repo and tackle some of these initiatives on your own. But for now, let's call it a day. As always, feel free to ask me any questions on Twitter. And until next time, happy coding!